Lion's Mane, Coral Tooth, and
Bear's head Tooth
All 3 of these closely related species belong to the genus Hericium and contain unique compounds that may help slow or prevent neurodegeneration and age related cognitive decline.
They are among the easiest to grow of any mushrooms we produce, as well as very high yielding. Under ideal conditions they can produce over 3 pounds from the first flush, or crop. Some customers have gotten as much as 5 harvests out of the kits with over 7 pounds harvested in total.
Step 1: Release the Lions
Find a large storage tote, empty aquarium, or similar container, even a cardboard box can work.
It does not have to be translucent, but mushrooms exposed to indirect light will produce deeper color and more compounds like vitamin D and melanin. Plastic wrap over a cardboard box can be an inexpensive way to get some light to your kit. They do not require light to grow, having a window in the room will provide enough for them to develop their color.
Using a clean, sharp knife slice two X shaped holes in the bag, roughly 2x2 inches. These should be near the top of the substrate block of substrate inside your bag. (Fig. 1) This will leave room for the mushrooms to grow suspended from the side of the bag in the air, as they do in nature. (Fig.2) You can also slice 2 additional X's on the backside so that you'll have 4 medium sized fruits, instead of two giant ones.
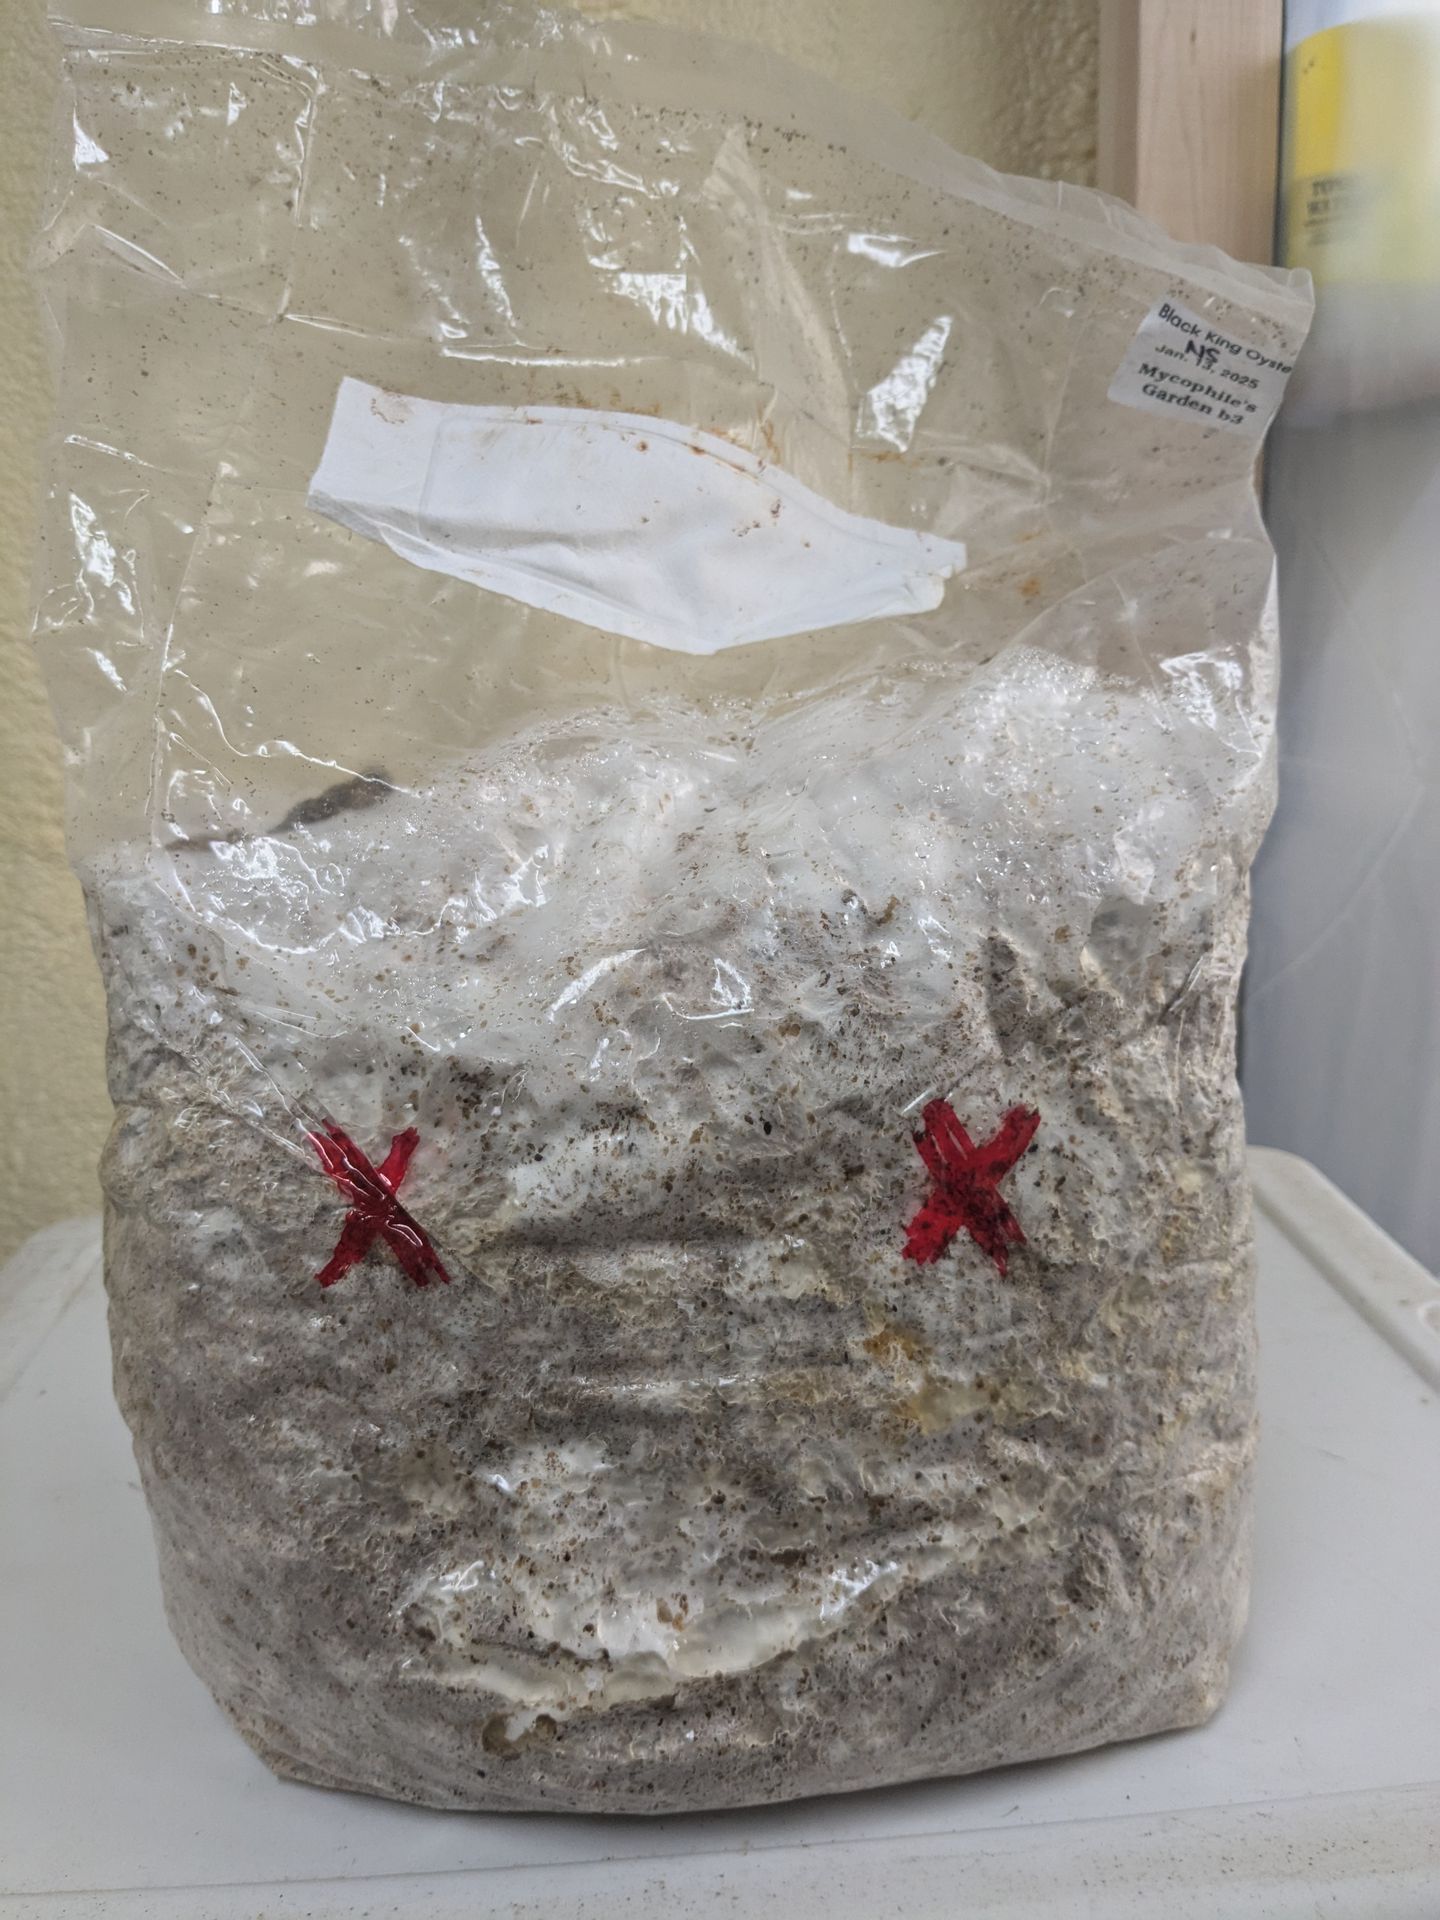
Fig. 1

Hericium species are happiest between 55 and 68 degrees but can handle temperatures down to 50 or up to 80. Find a place in your home or garage to place your kit. We suggest having it somewhere that gets some airflow. Spots near doors or open windows are great. As are large open rooms, basements, or garages. Mushrooms take in oxygen and exude CO2 just like us. Keeping your kit in a closed closet or a bedroom is less than ideal as they will be more likely to suffocate on their own exhaled CO2 (and yours as well). This is more of a concern in the winter time as our homes tend to have elevated CO2 levels.
Once you've chosen a home for your kit, we recommend putting you kit inside the tote after you have inverted the tote itself. Then place a book or other object under one side to create a 1-3 inch gap on one side. This will allow natural air currents that move along the floor to carry away CO2 with settles near the floor as it is heavier than oxygen. This will help your kit breath in between your fanning it daily. Roll down the excess empty bag on top as tightly as possible and secure it with a 6 inch piece of duct tape. (Fig. 3.) This will discourage mushrooms from growing inside the bag, which can happen if you're unable to provide adequate humidity for them all the time.

Fig. 3
Mushrooms need high humidity, especially when young . This can be achieved for many people by spraying or misting their kit with a spray bottle 2-3 times a day . However, this can be inconvenient, and not always adequate depending on the season, ambient humidity, and the conditions in you own home. So we generally recommend purchasing a small humidifier for less than $20 which can greatly improve your success and simplify the process.
Step 3: Watch em Grow
Check on your kit daily, ideally 2 or more times. You should open the tote and air it out whenever you check on it. If it's humid and temperate outside, or in your home, feel free to leave it out for a few hours, but only where it will not receive direct sunlight or much wind. Insects aren't too much of a concern for Hericium, so you can place them outside when humid, or ideally in a screen porch or next to an open window.
After 5-10 days small white or pink lumps will start to form where you have cut openings. Continue with regular fanning as they need more oxygen once the actual mushrooms begin to from.
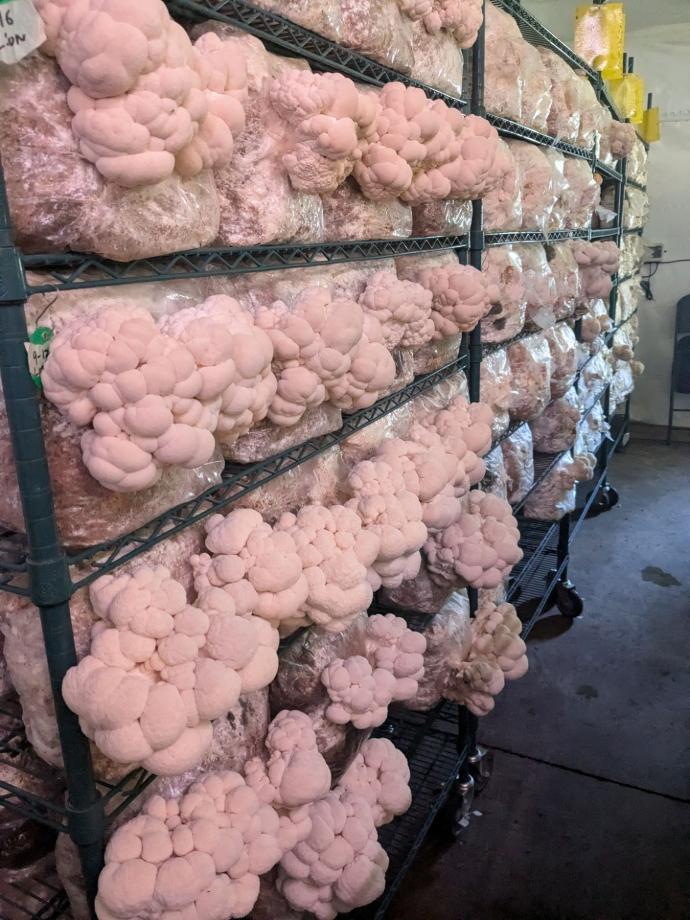
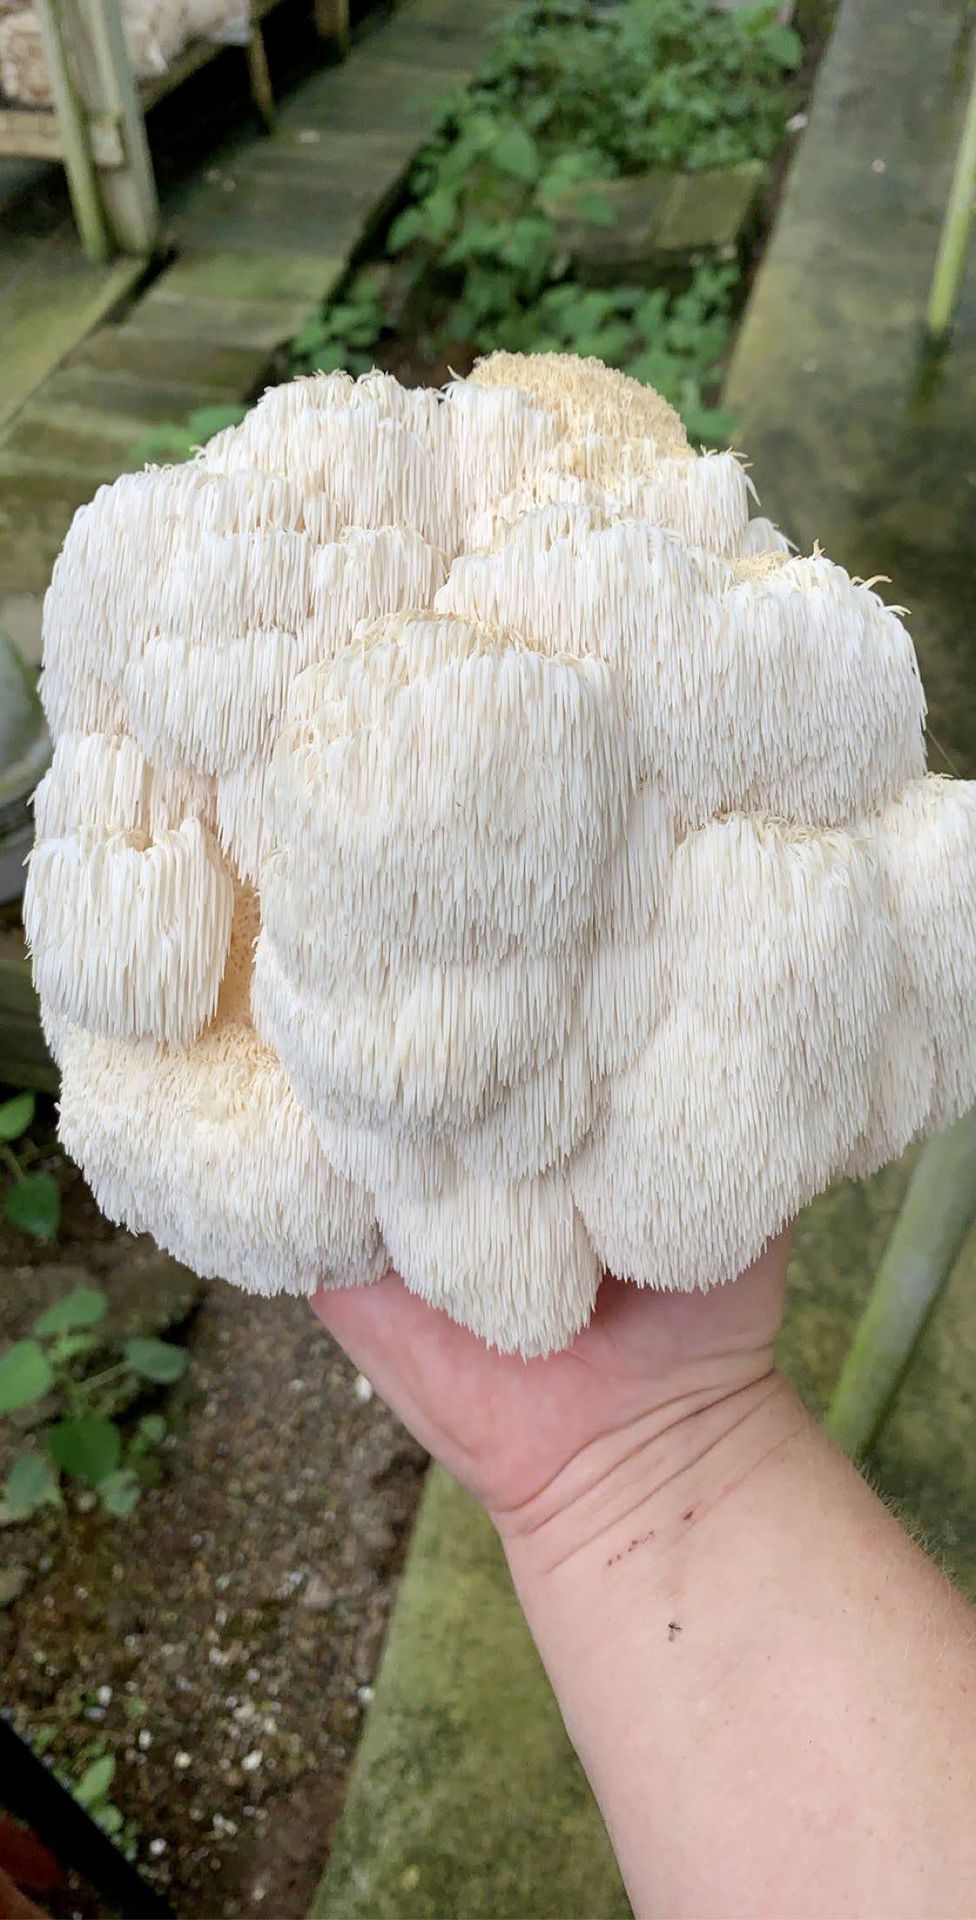
These varieties will take 5 or more days to form, sometimes up to 10+ in cold conditions. Under ideal conditions they will nearly cover the side of you grow kit, producing 3+ pounds. Though they will be a bit smaller if you have made 4 holes in your kit. Images 4a - 4c show lion's mane that are still immature.
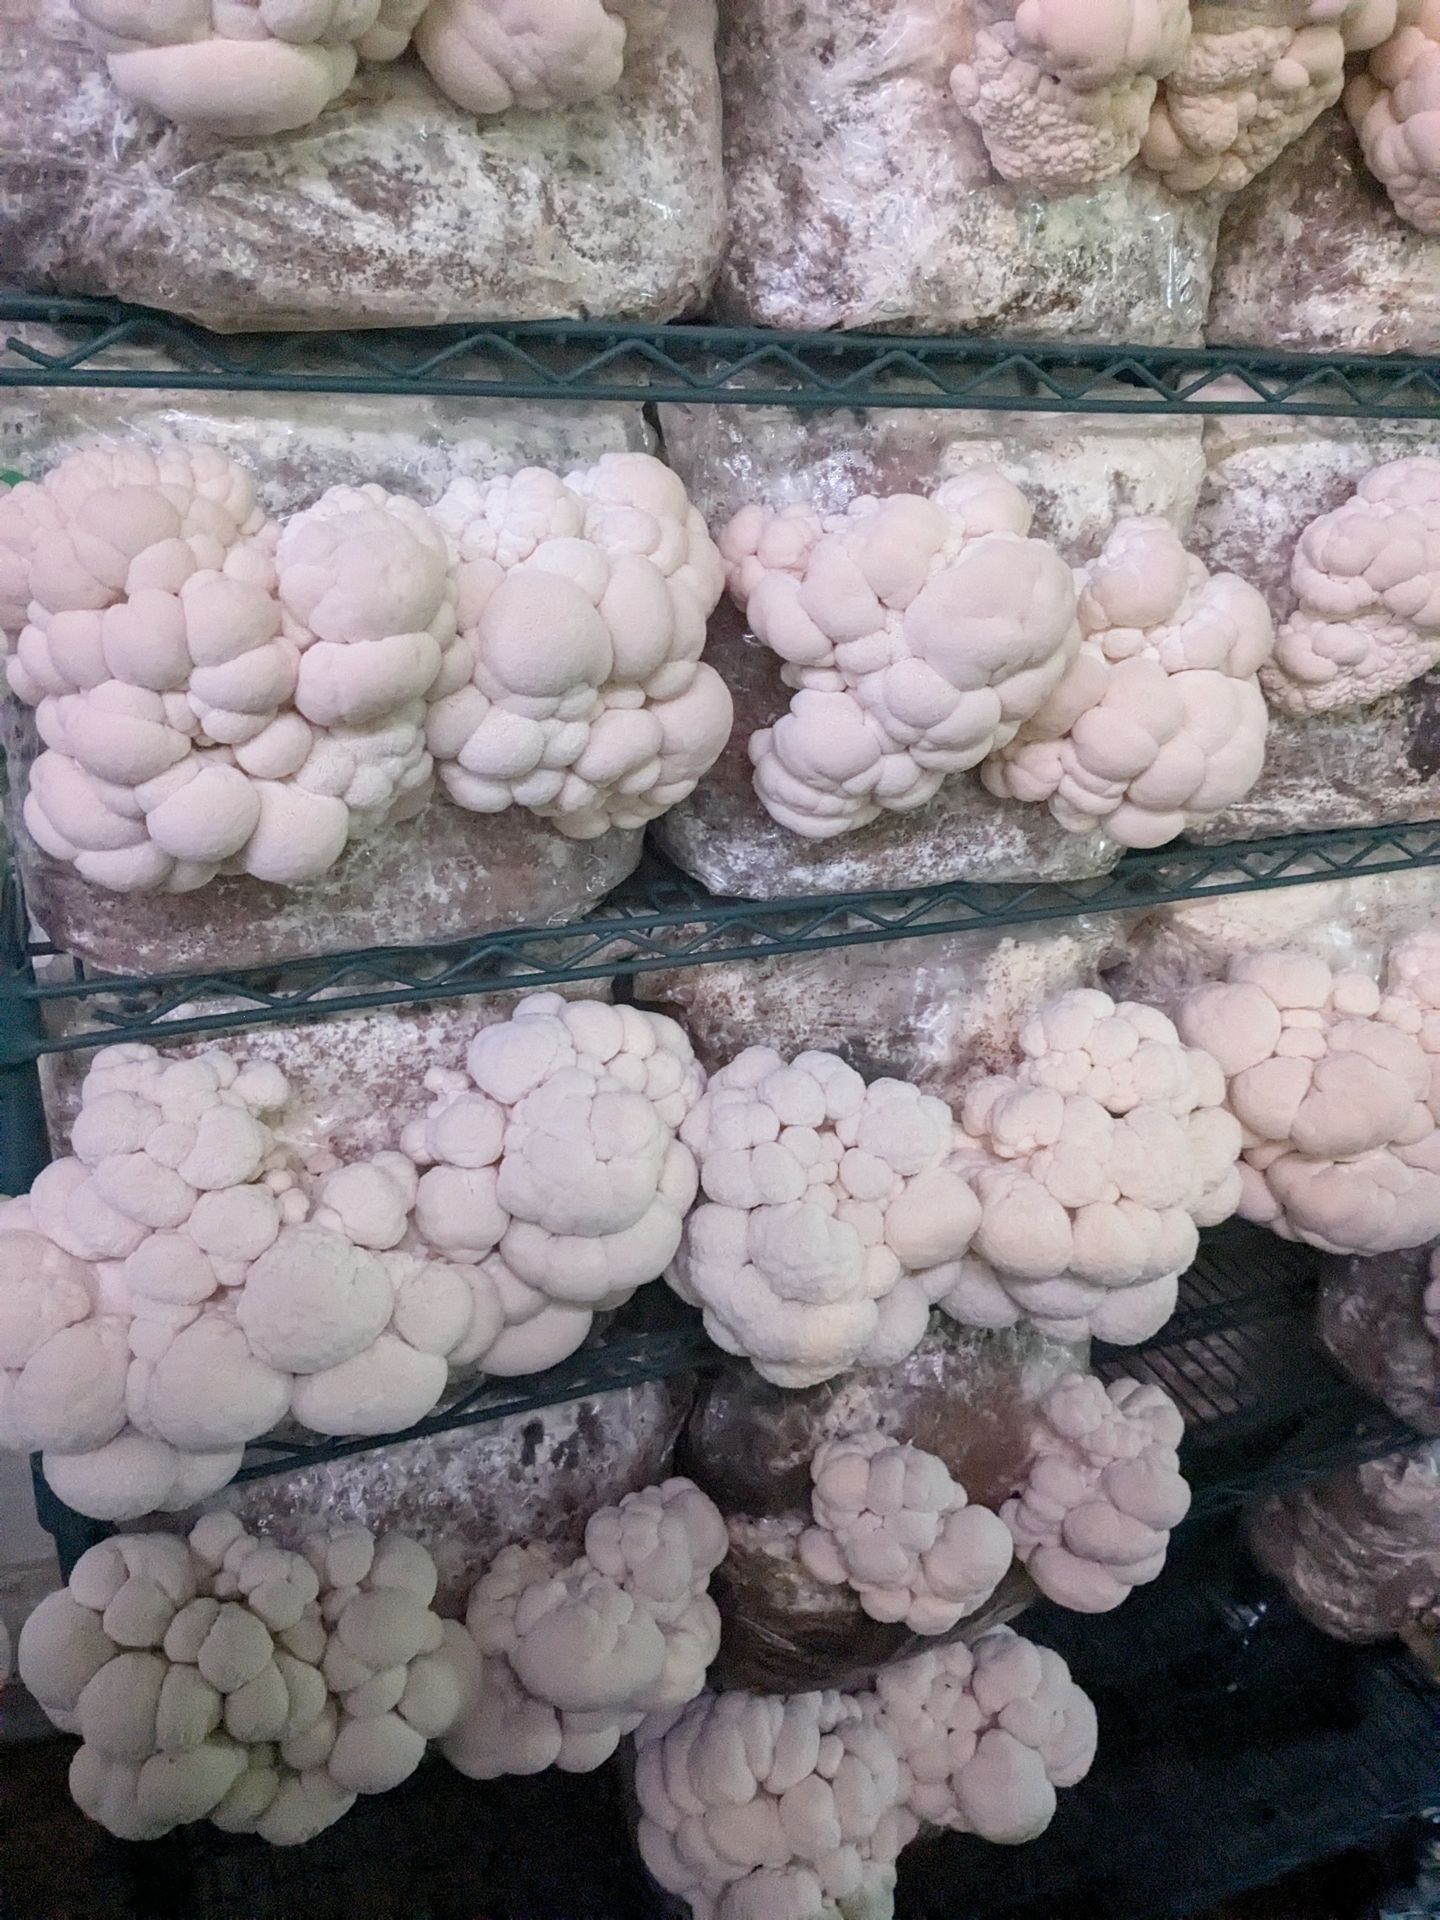
Fig. 4a
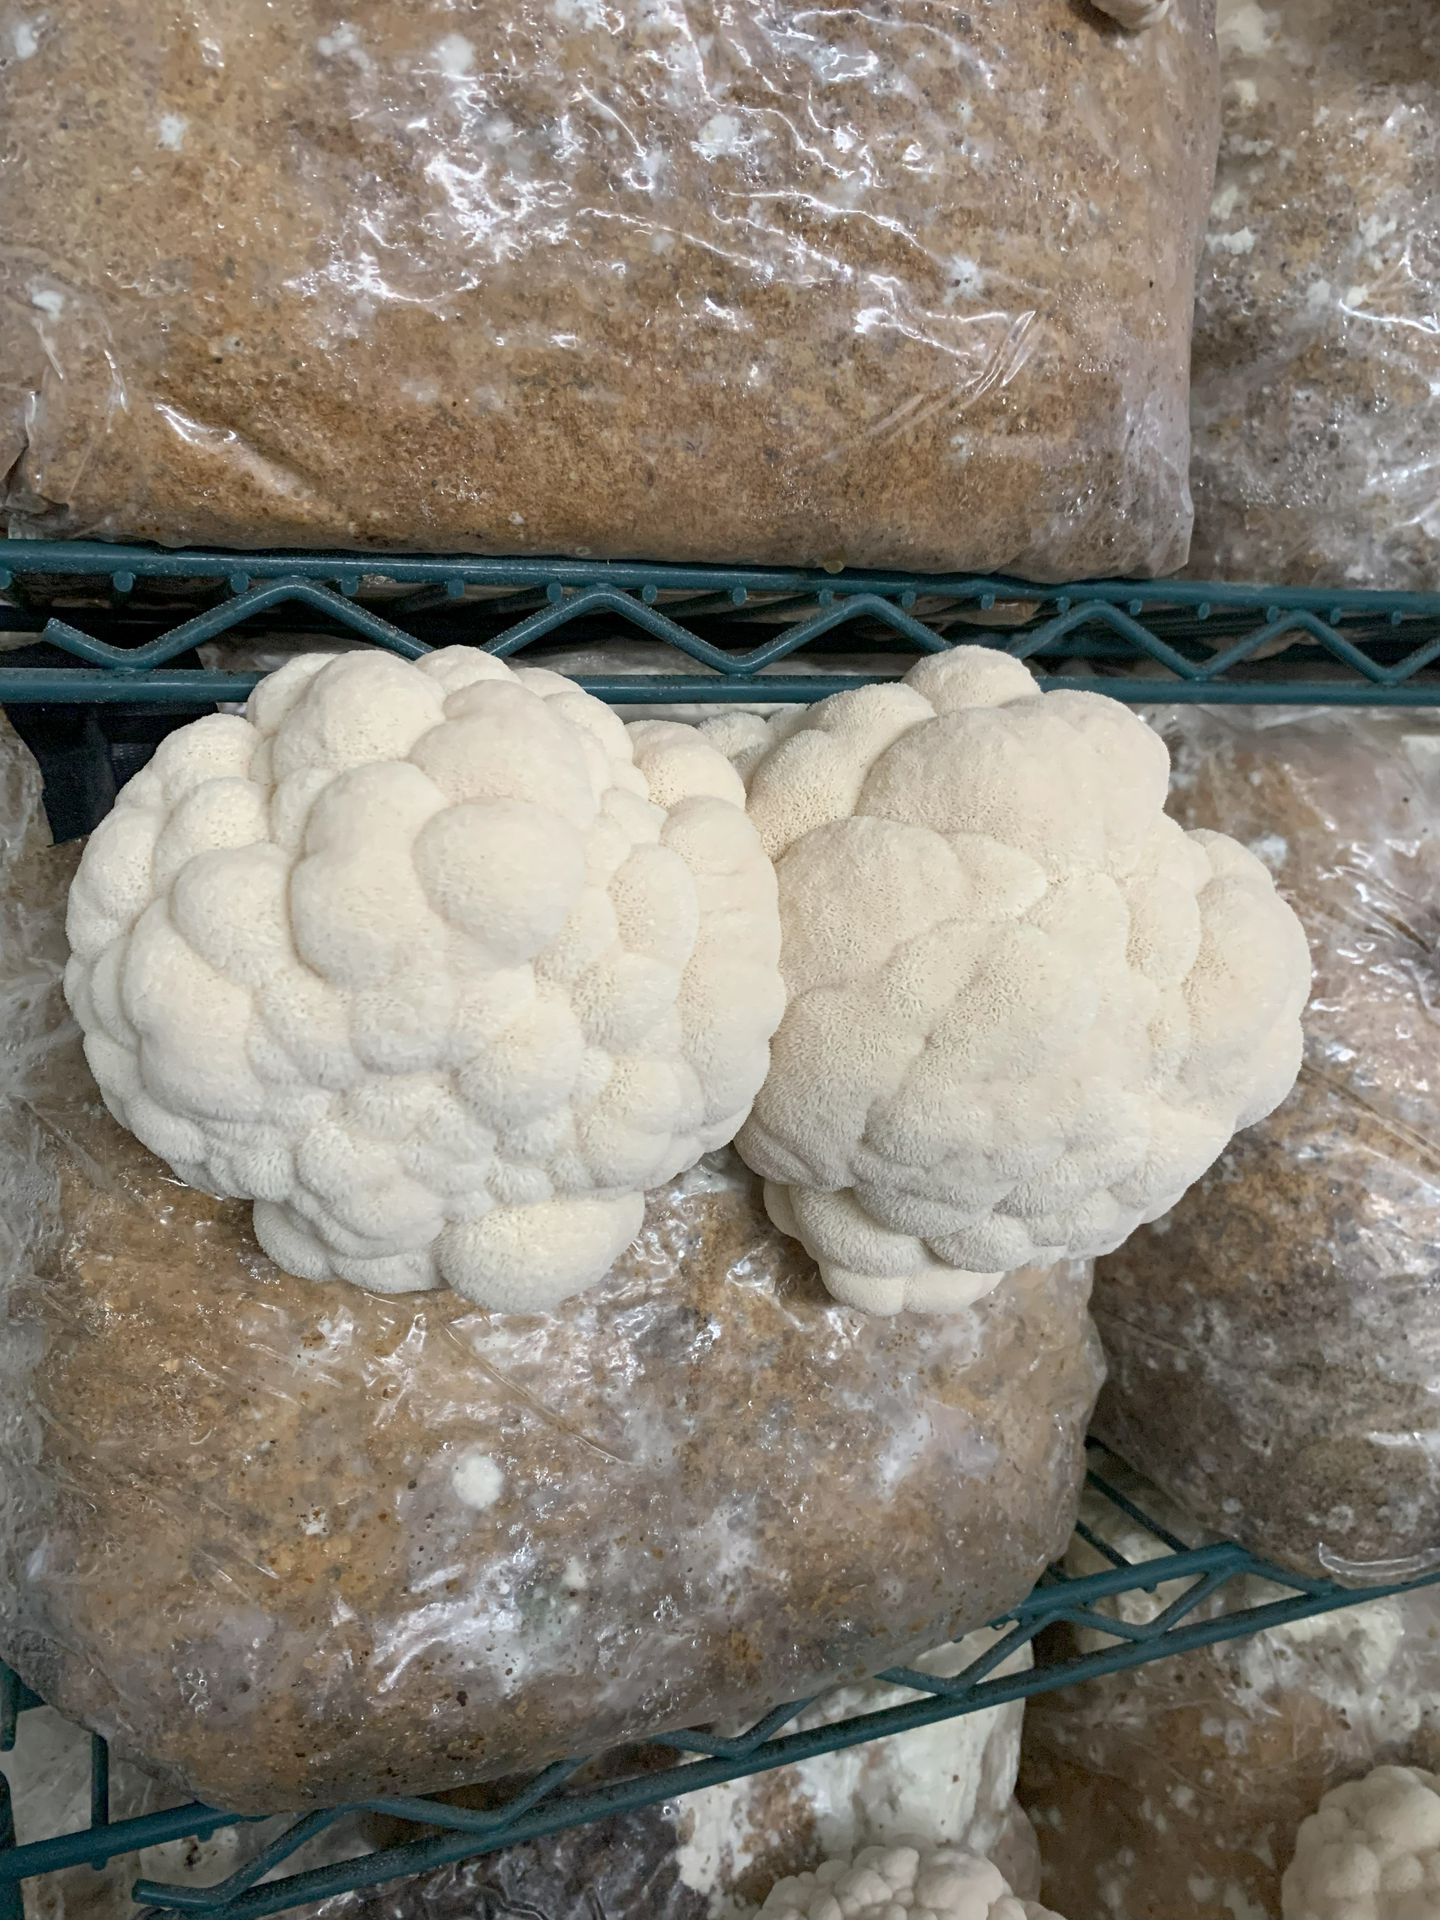
Fig. 4b
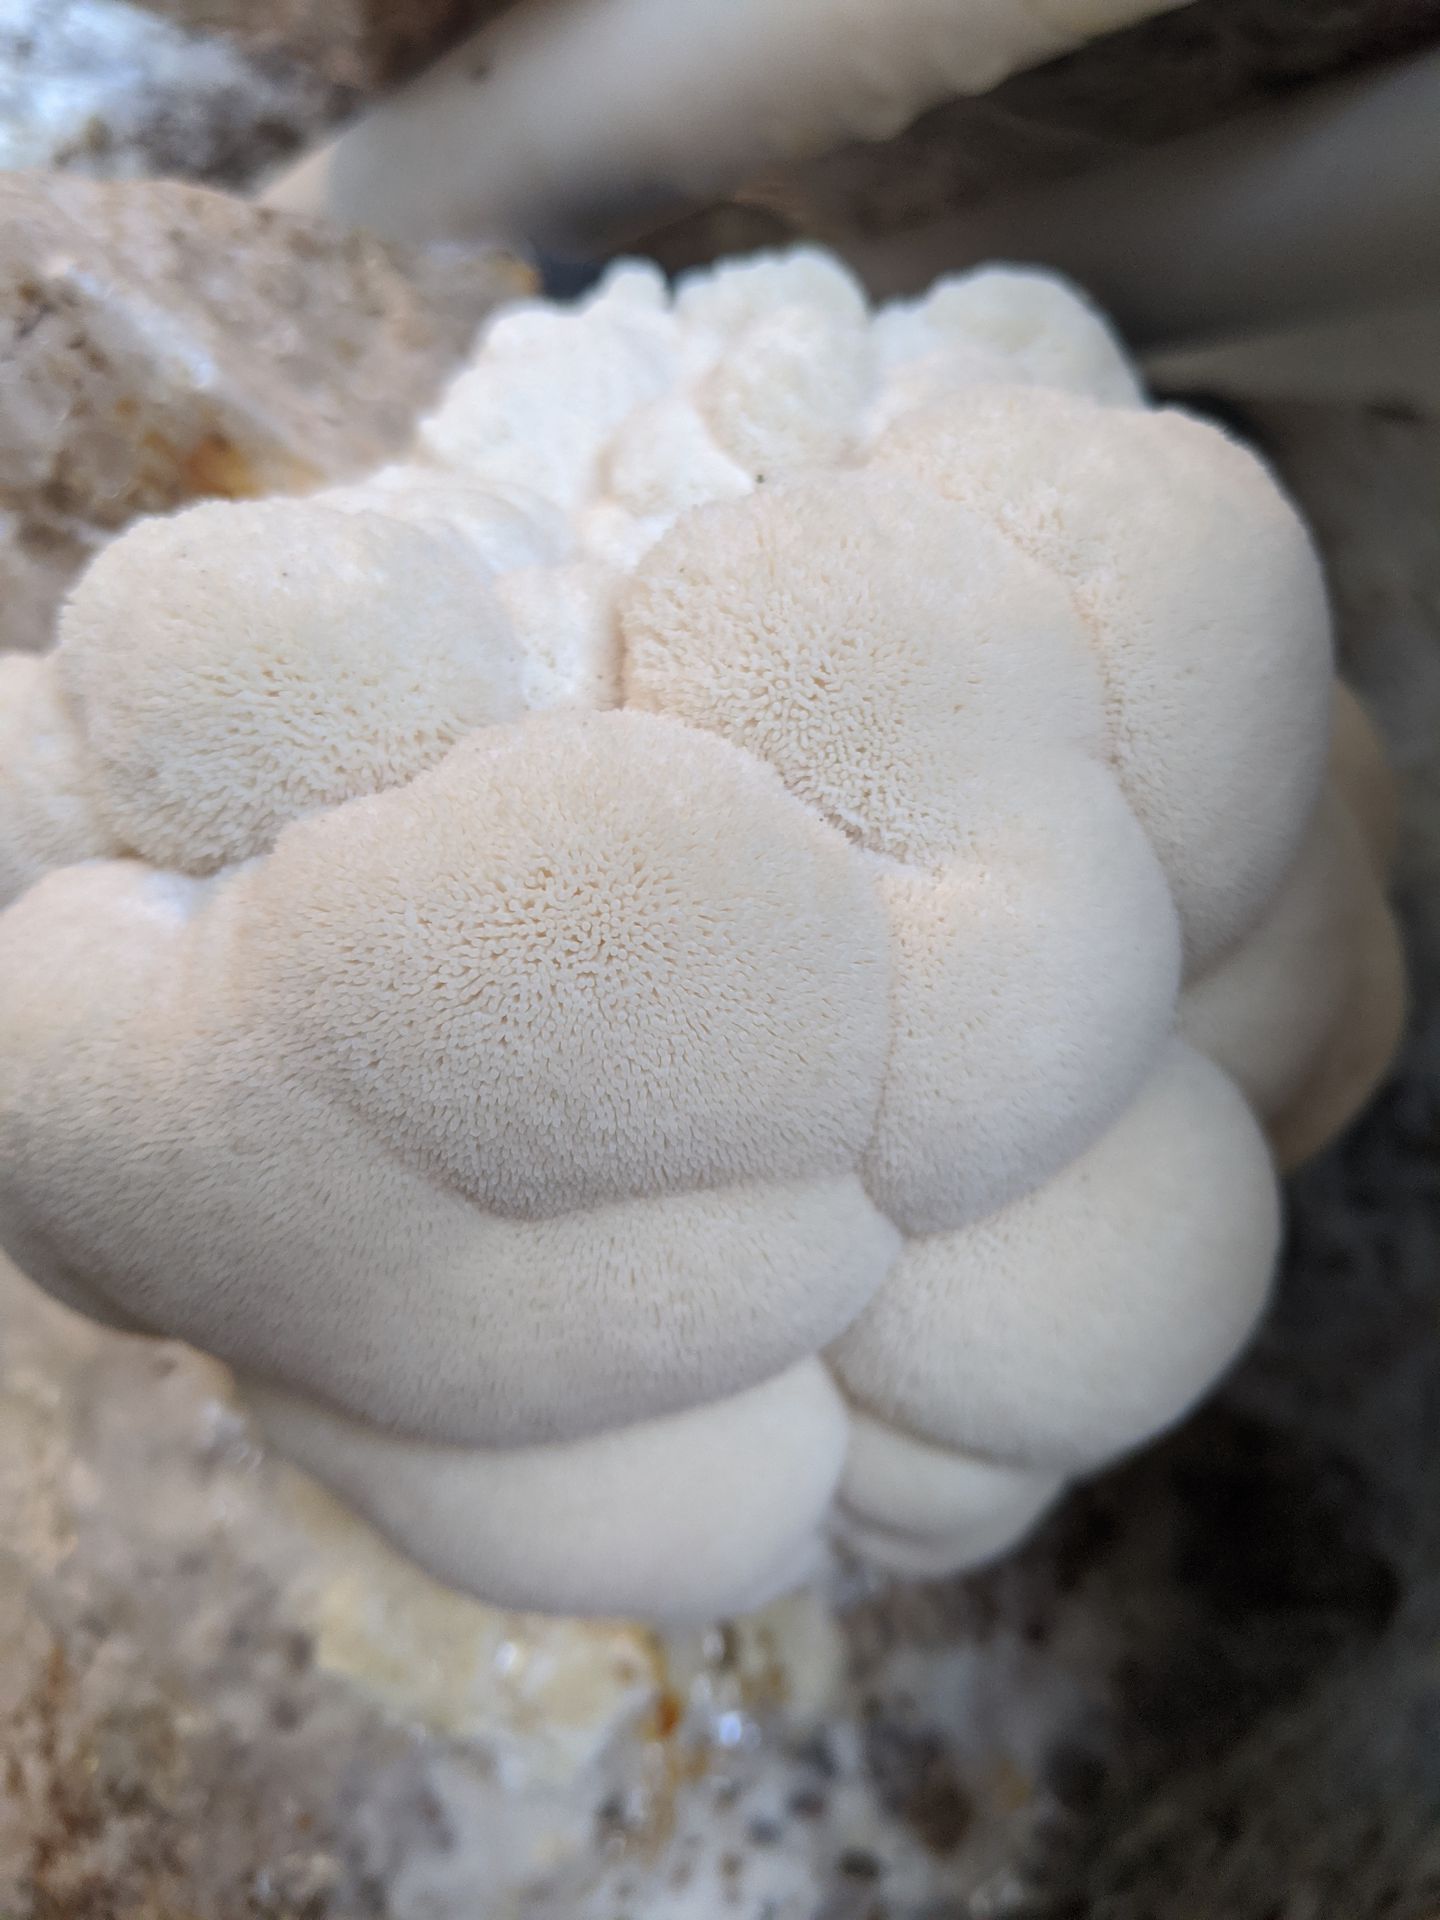
Fig. 4c
Step 4: Harvest and Storage
After a number of days the mushrooms will begin to produce downward pointing hairs, technically know as teeth or spines. These teeth will eventually release spores if left to grow. You should harvest when the hairs are between 1/4 and 1/2 inch in length. After this you mushrooms will become less sweet and more stringy. (Fig.5)
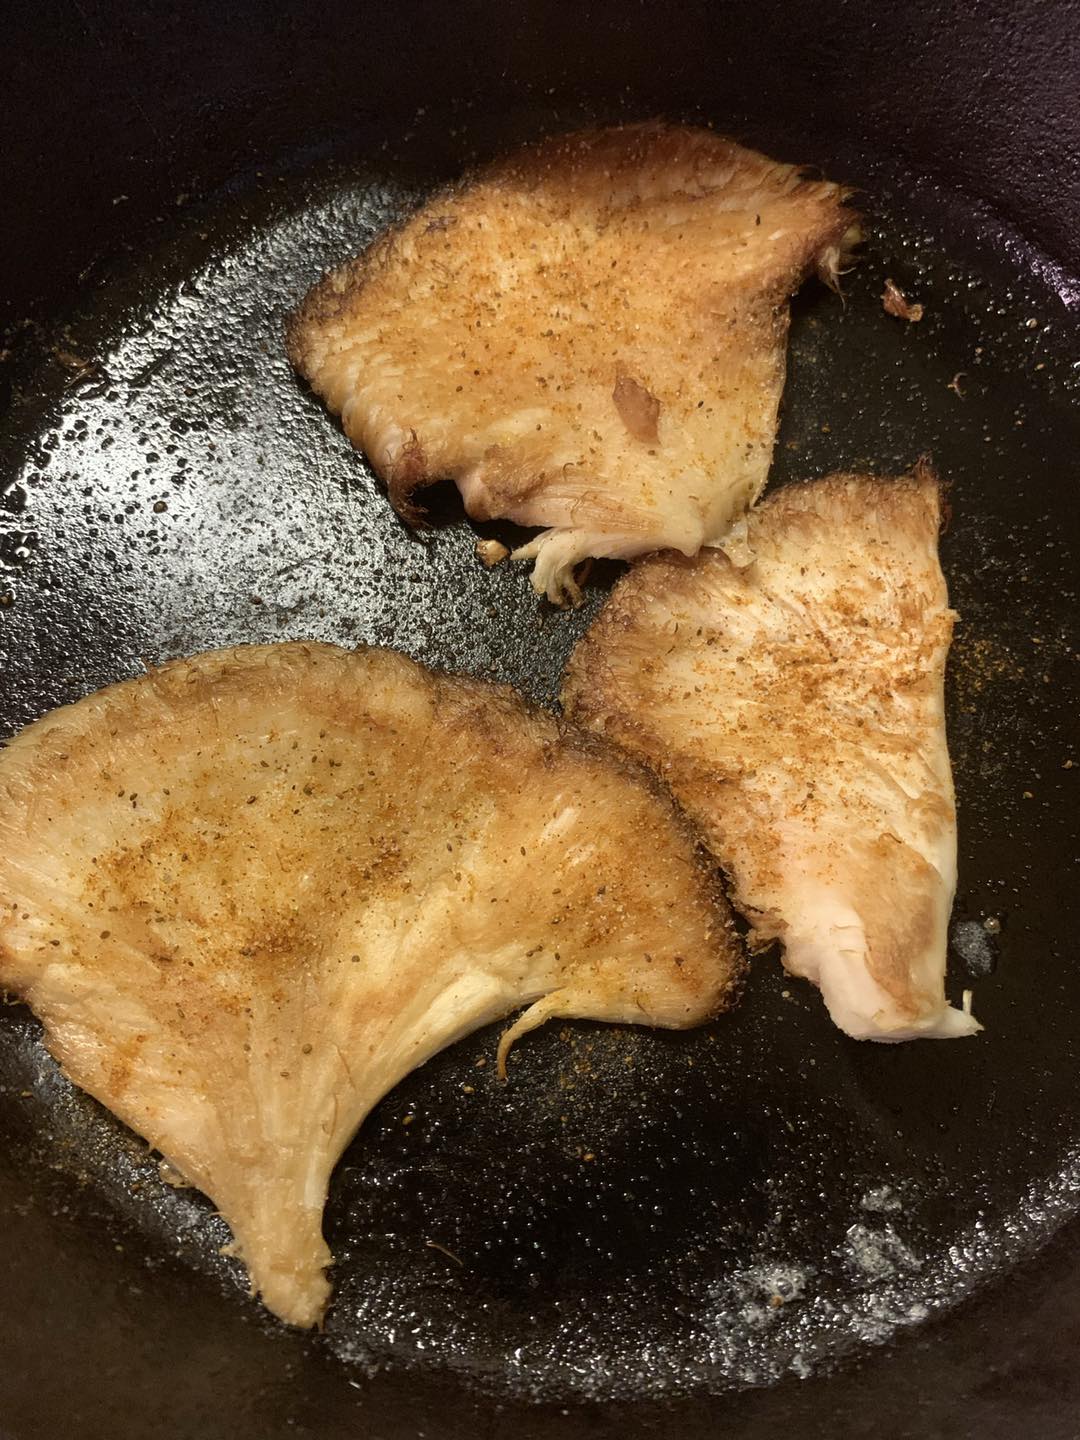
Harvest with a serrated knife, slicing as close to the kit as possible. Store your mushrooms in a breathable container in the fridge for up to 2 weeks, though we find them best if used in 7 days.
Continue treating your kit exactly the same and another set of smaller (1-2) pound mushrooms will from at some of the openings after another week or two. This can continue until you've harvested up to 7 or so pounds. But the time between flushes can get longer as they age and older kits may take a few weeks to start up again. The pictures below represent a good stage to pick them based on the length of the teeth or spines.
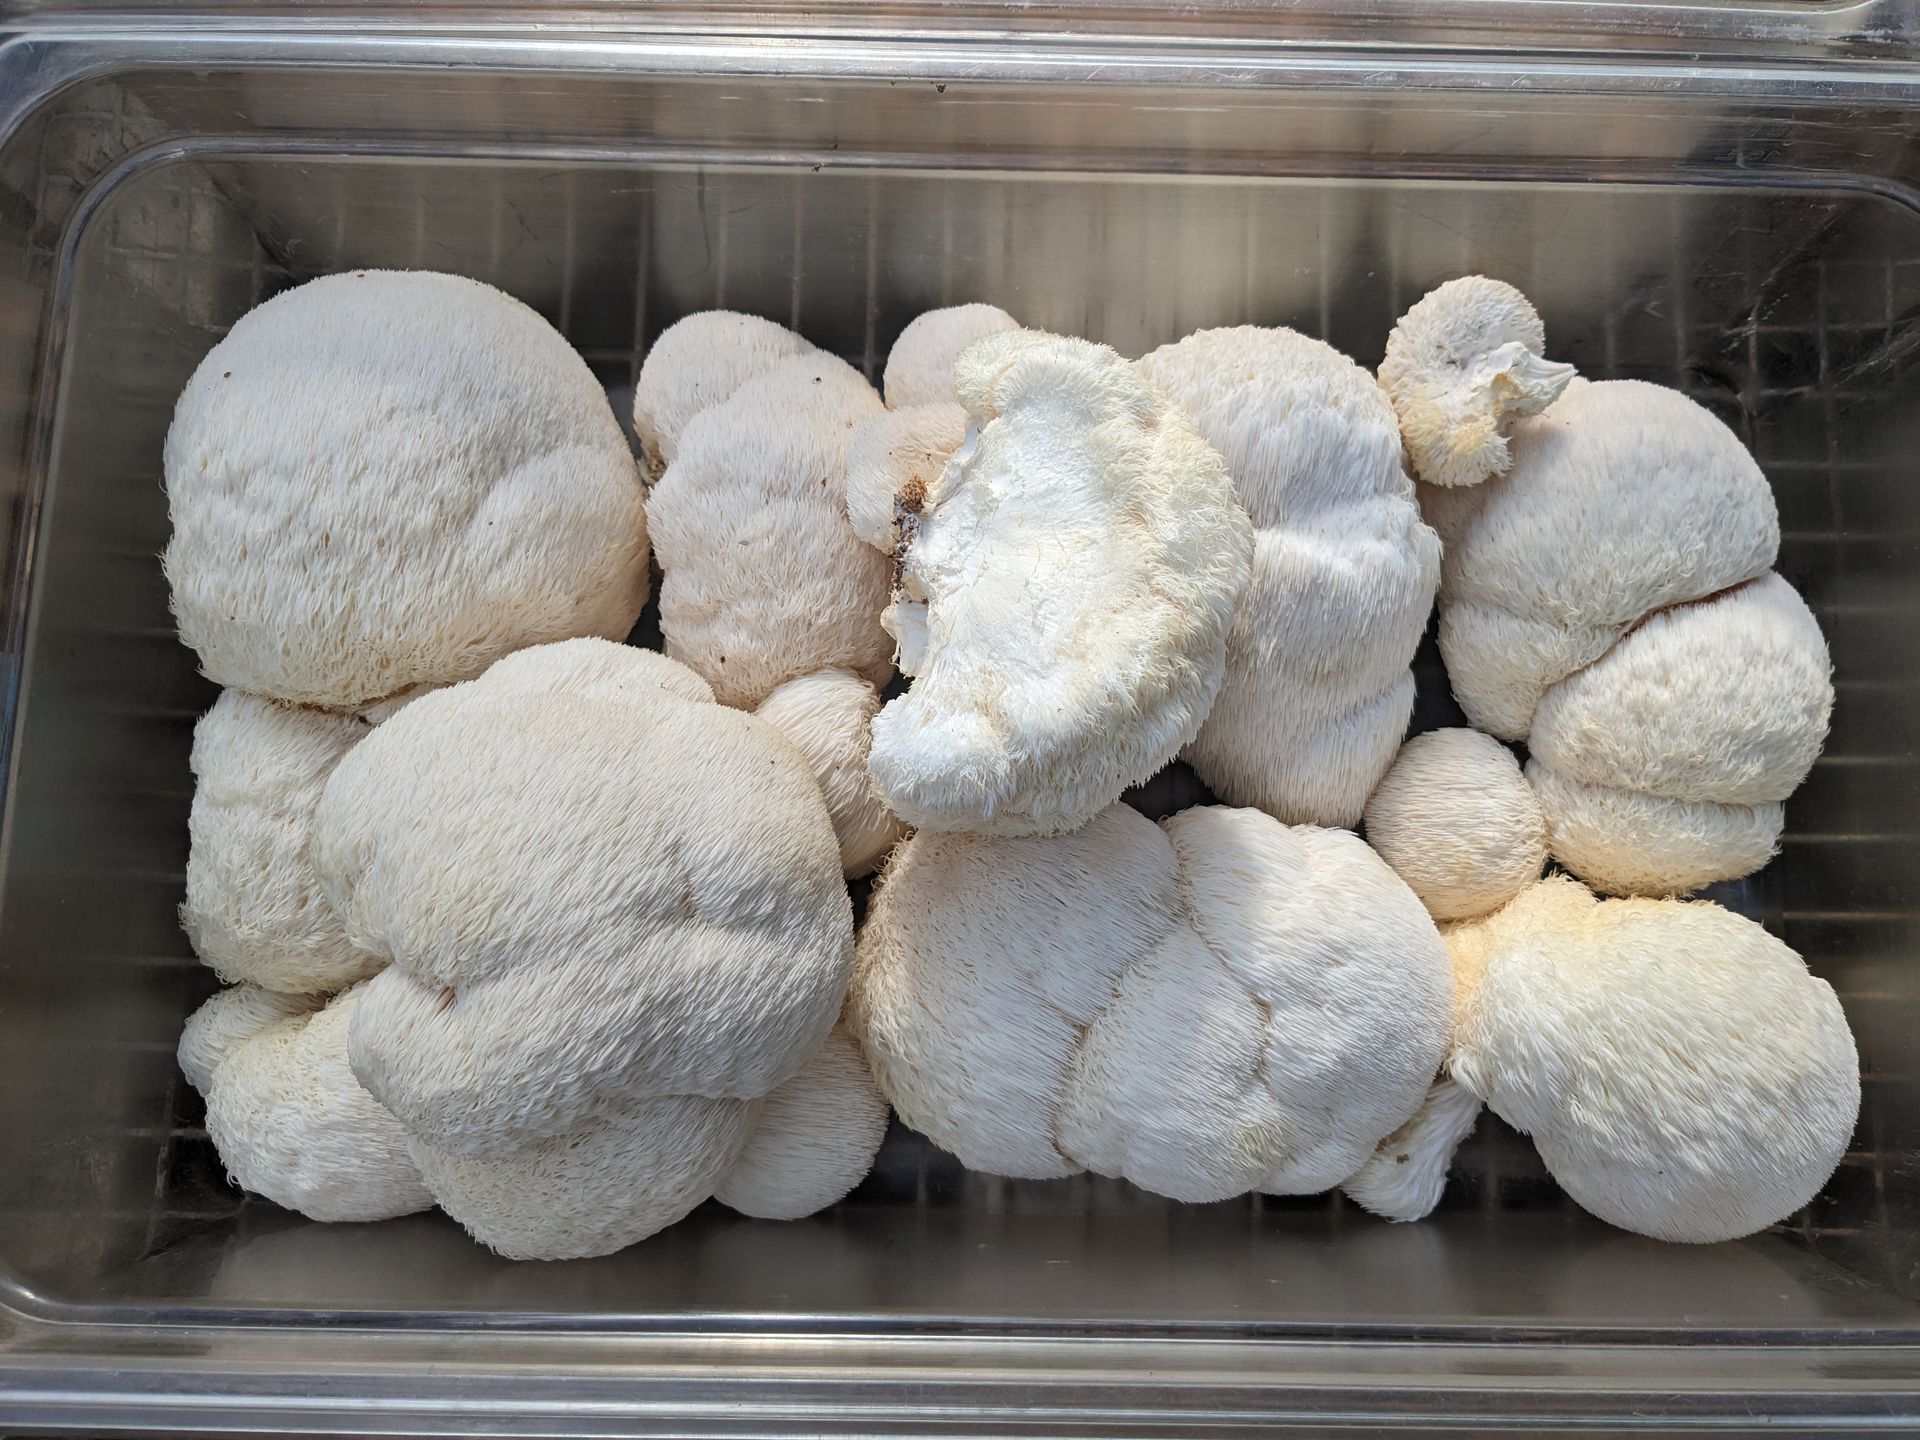
Fig 5a
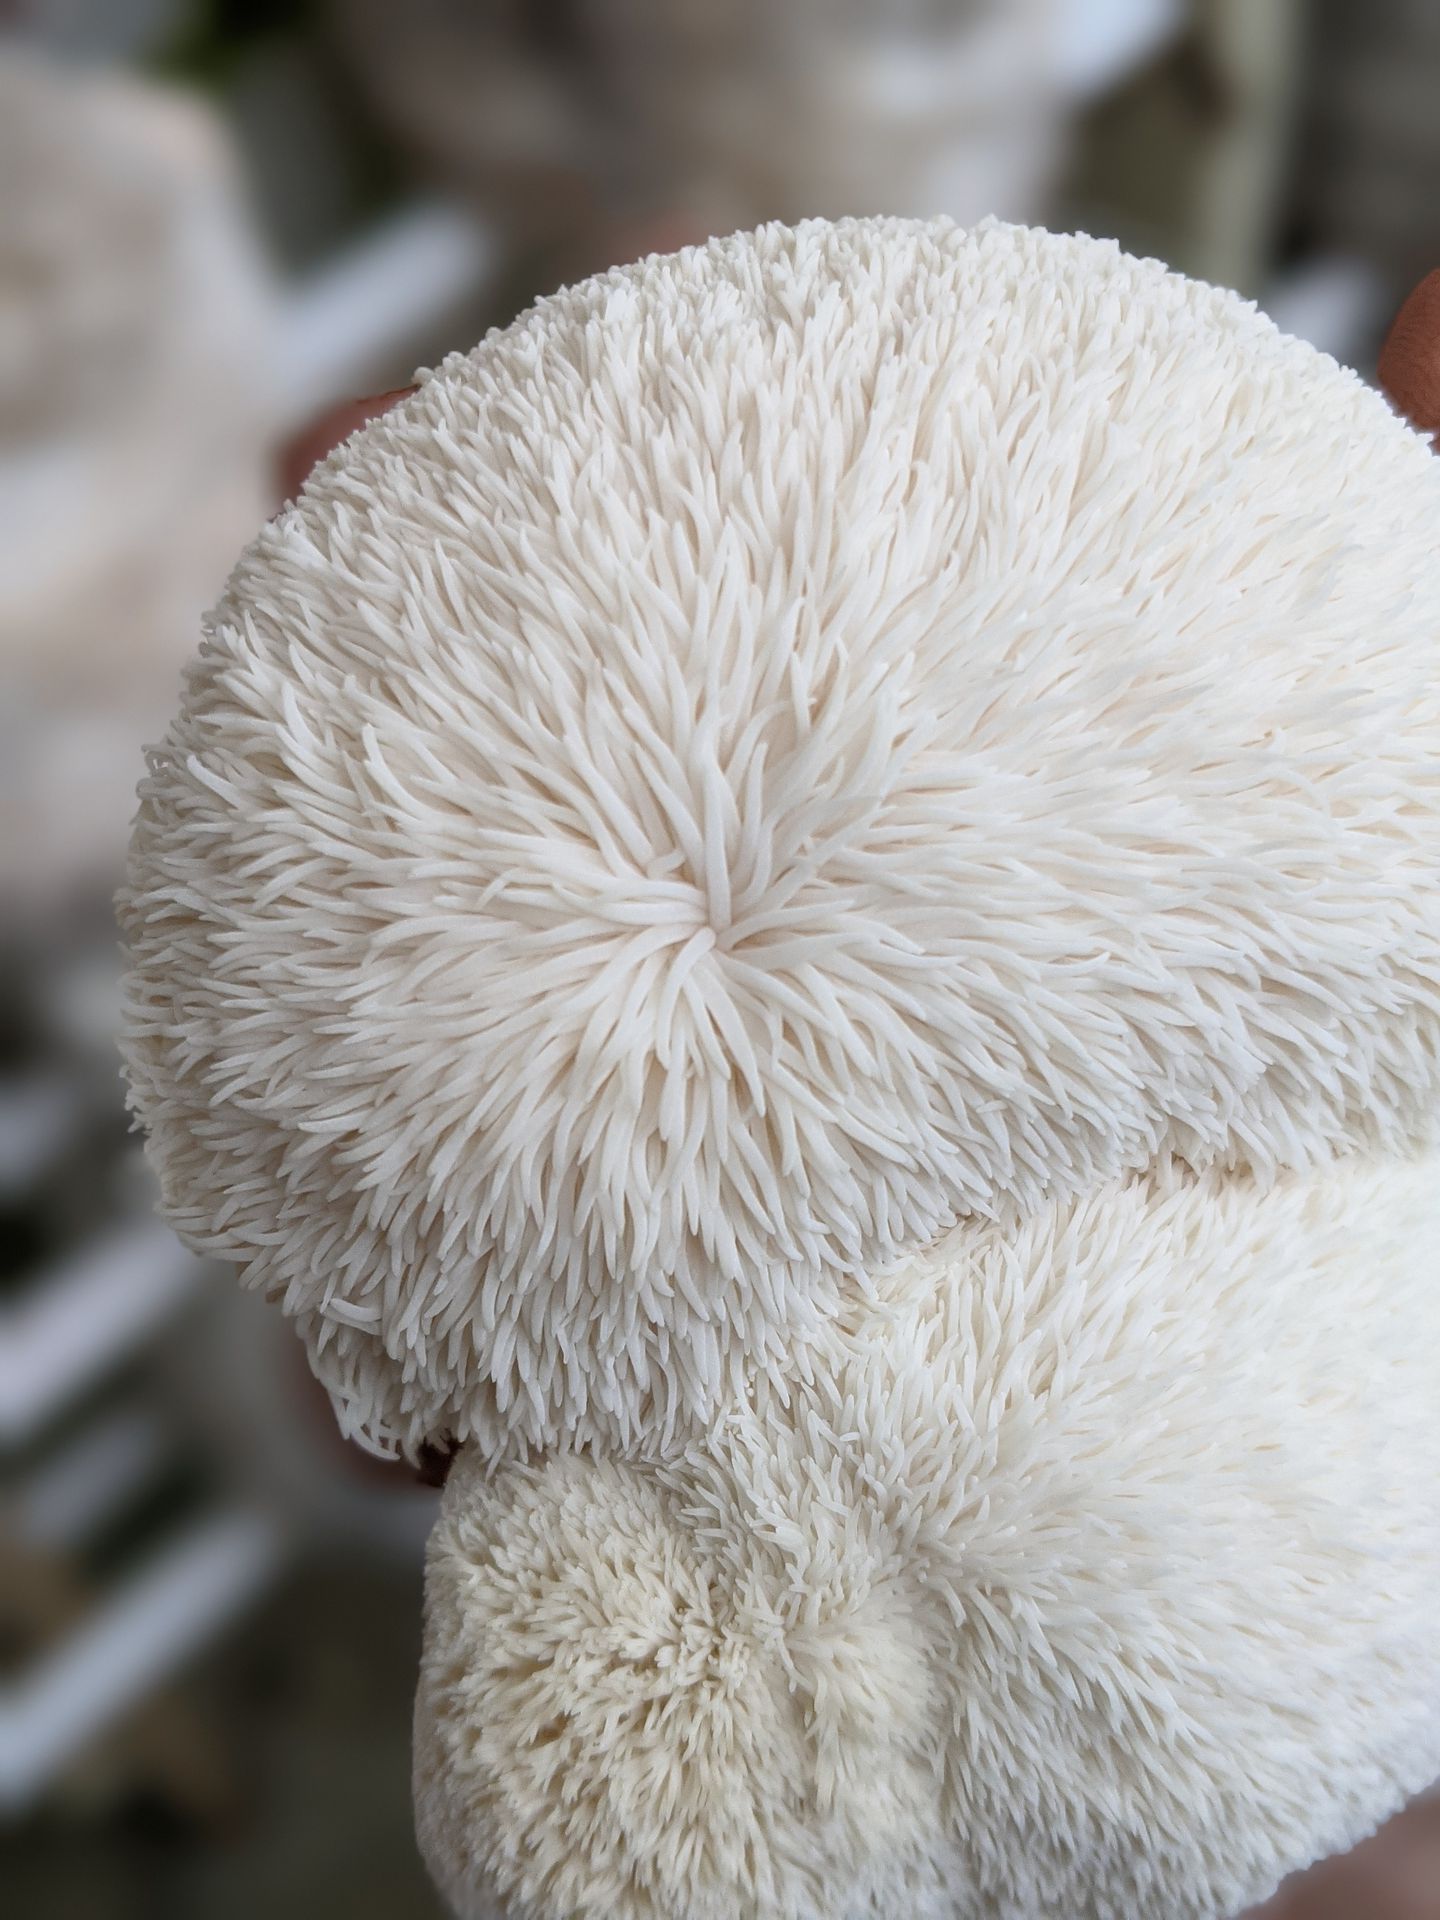
Fig. 5b
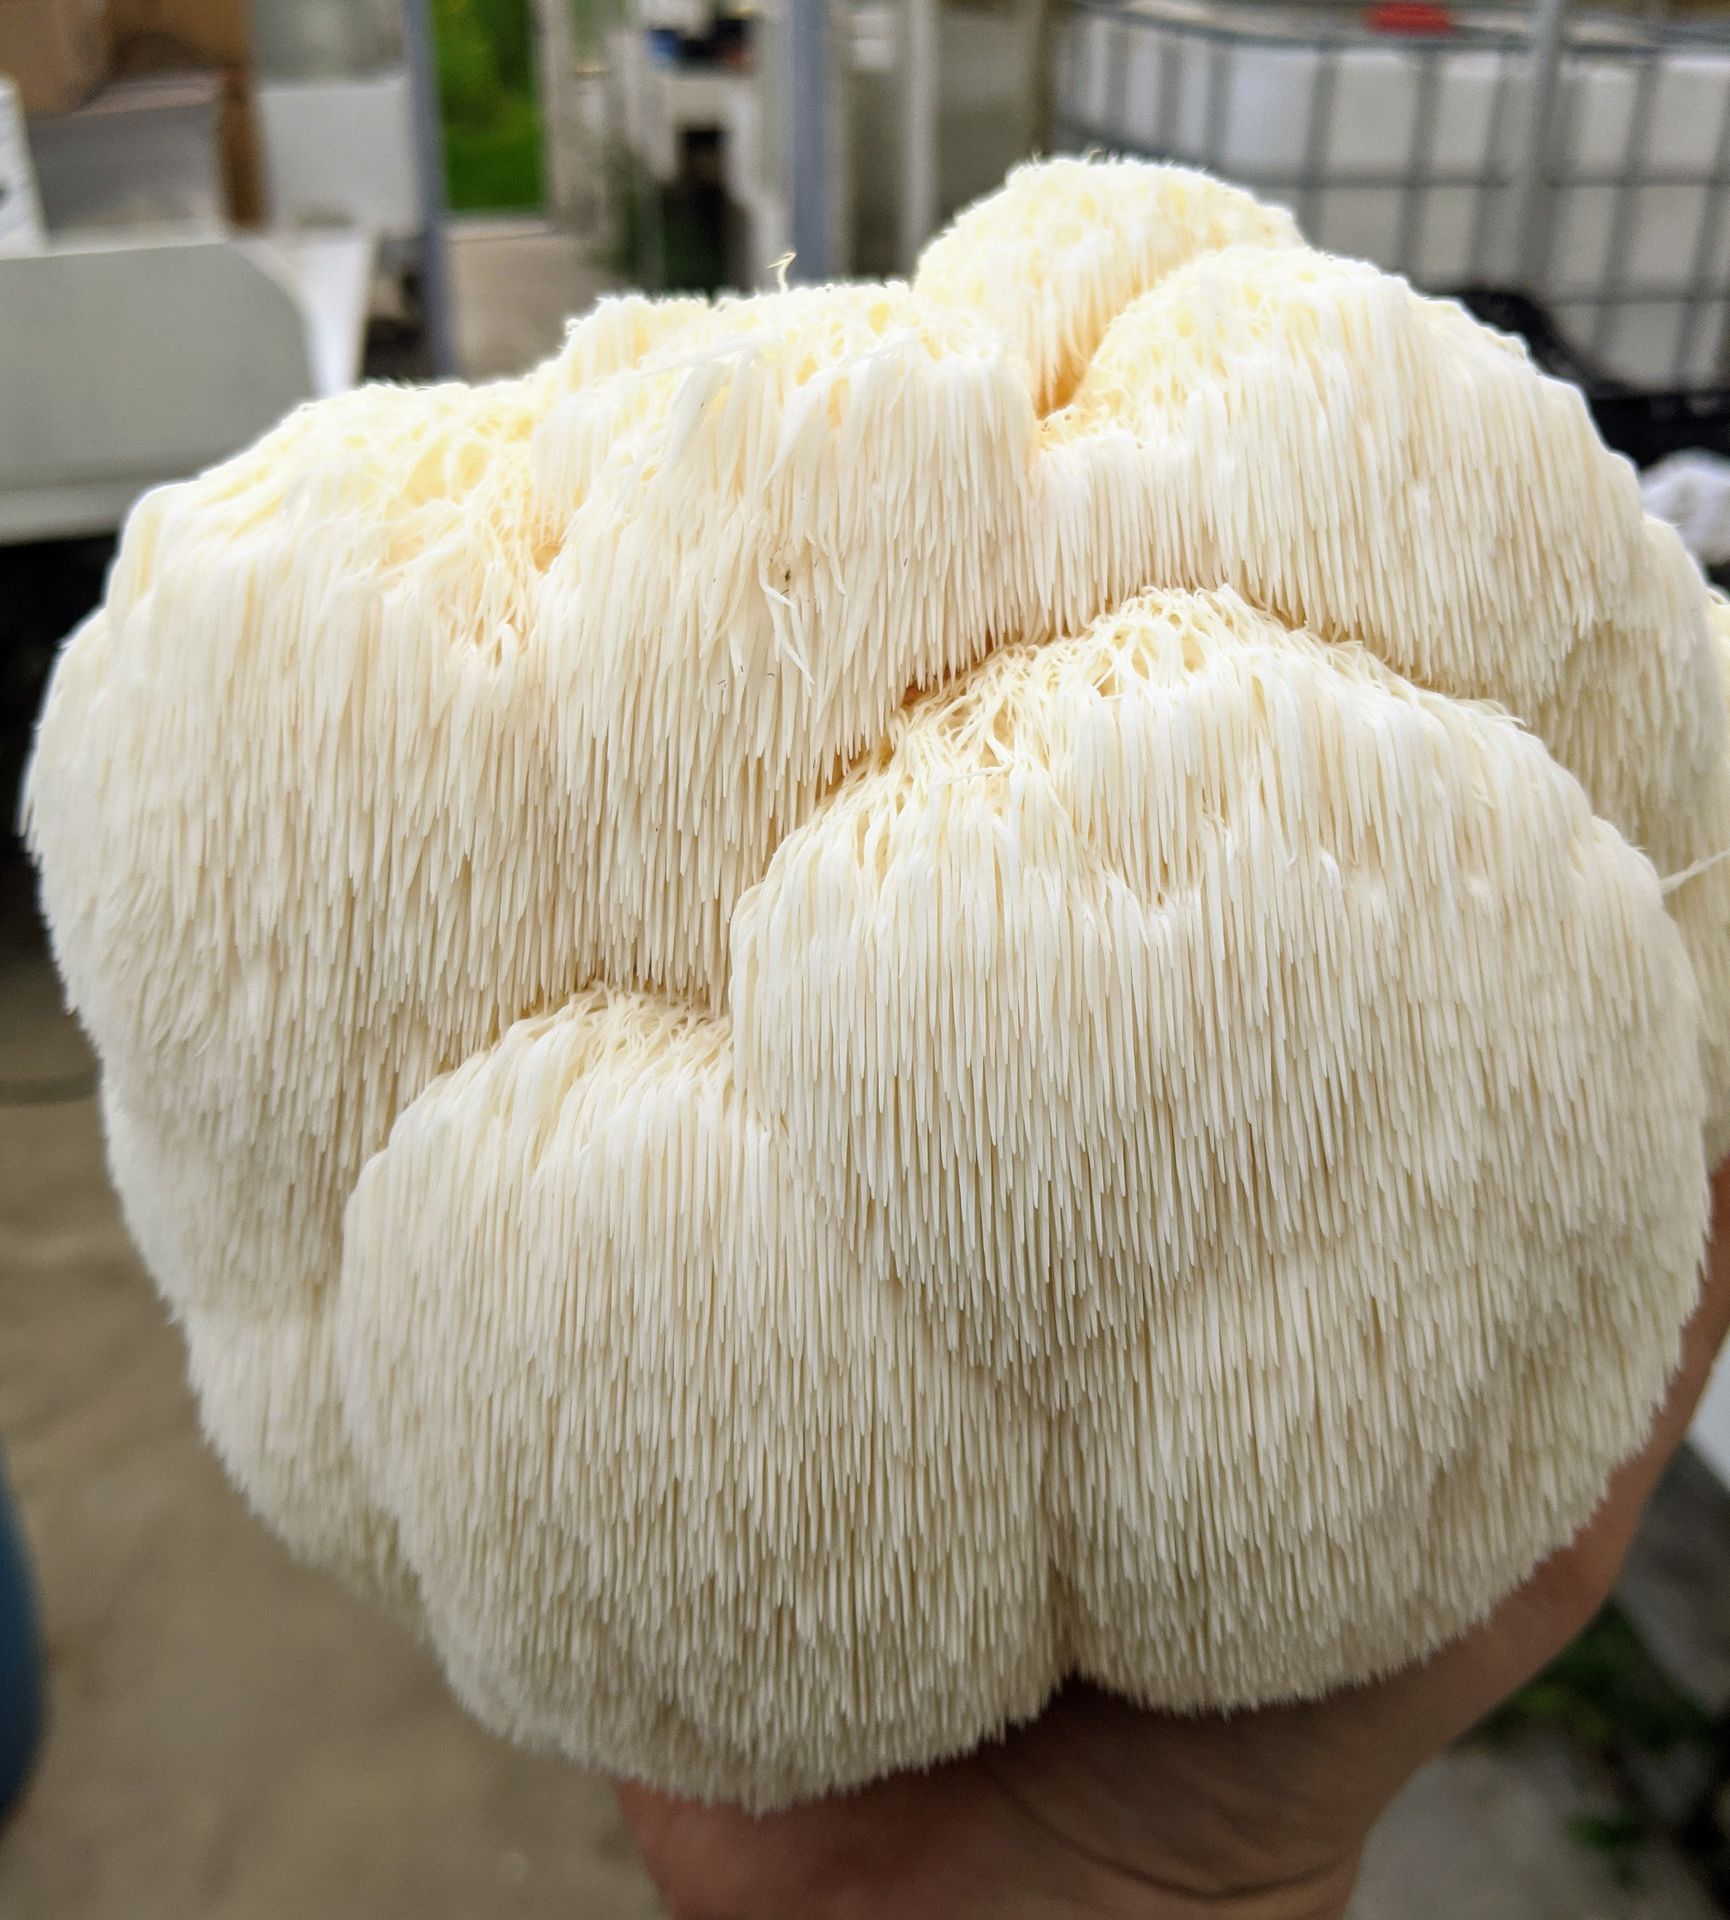
Fig 5c - This is about as far as you should let them go. The outermost spines are about 1/2 inch.
Step 5: Enjoy Them!
Hericium can be great on their own, or used in a wide variety of dishes.
We really enjoy them in eggs, pasta, soups, curries, or as a meat substitute in tacos, vegan "crab" cakes, vegan "chicken" nuggets, lion's mane steaks, ad more. Recipes for these are readily available online.
Many people prefer the taste of Coral Tooth over Lion's Mane, but there are similar. The texture of lion's mane makes for a better meat substitute generally. Check out one of our favorite Vegetarian Crab Cake Recipes Here

Step 6: What Now You Say?
After your kit has stopped producing you have a few options.
1. If you'd like to get more from your kit, rinse off the outside of the bag in the sink or tub, and then submerge it in cool water for 12 hours or so, allowing water to fill the bag.
Remove it and slice a couple small slits in the bottom, allowing water to drain out. Then return it to your fruiting chamber and continue as you have been.
The kits usually run out of water but still have available nutrients.
2. Soak in water as described above and bury outside in shallow hole, in shady area. The top of the kit should be level with the ground. Place some grass or leaves over the top and check on it regularly. This method is especially nice in Spring and Fall when insects are less active.
3. Break it up and compost it or spread it in your yard, the kits are all natural and make great soil amendments or compost.
Some yellowing on the top is normal in more mature specimens, this would probably have been best if harvested 24-48 hours earlier.
Tips & Tricks
Lions Mane are often a pale pink color when young, this is totally normal. They may also bruise easily when handled, this is especially true for very moist mushrooms. The bruising may be brown, green, or blue in color and is totally edible. Additionally these mushrooms may turn blue or blue green when you start cooking them.
However, if your Hericium become discolored while growing, there may be an issue. If you see gray or brown sections of your mushroom, it may have become infected by a bacteria. This is uncommon, but more likely in warm weather.
If the discolored area is small and localized, just remove it before cooking, but if it makes up a large part of your mushrooms, it's best to dispose of it and wait for your next growth.
Hericium are also prone to drying out.
If the small teeth, or hairs, start to turn yellow/orange you need to increase humidity, This is most likely to occur when they are close to harvest. However, it doesn't effect their edibility, it's mostly cosmetic, but when dry enough they can become stringy.
If your mushrooms aren't developing teeth, or your lion's mane are loose and floppy instead of dense, they are not getting enough fresh air and need to be fanned out more, or moved to a space with more airflow but are still perfectly edible.