Oyster Mushrooms
The genus Pleurotus contains a couple hundred species worldwide, dozens of which have been cultivated for consumption.
They are among the easiest and most high yielding of all the mushrooms we grow, making them an excellent introduction to cultivation. With the exception of our Michigan Oyster which need greater airflow and is best for people with experience growing mushrooms.
Their mild flavor makes them easy to use in a wide variety of dishes, oyster mushroom varieties vary in color, texture, and flavor but all are versatile in cooking.
Scroll down to see how to best care for your oyster kit.

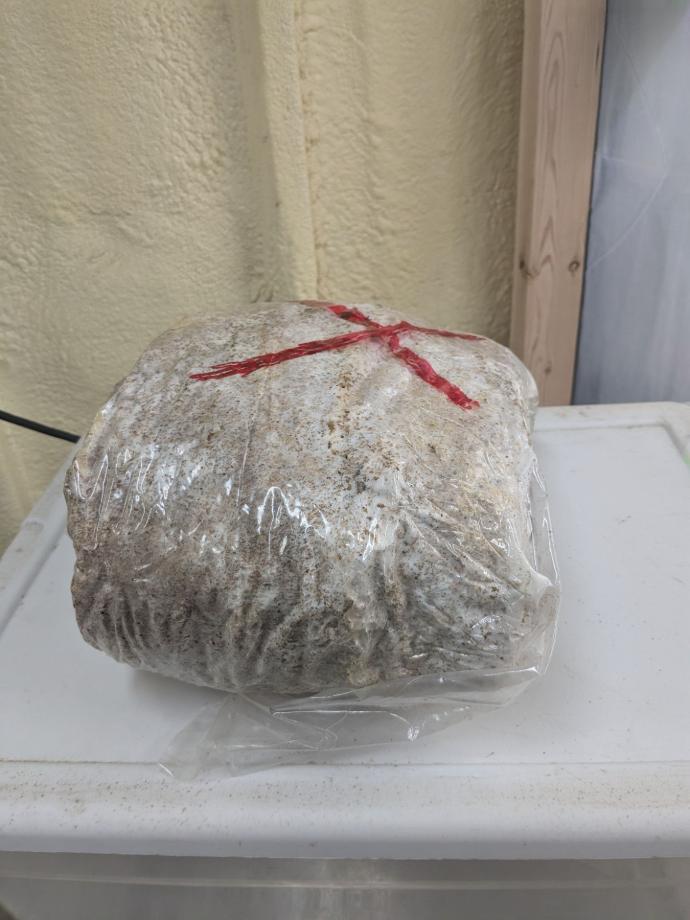
Step 1: Let 'em breathe
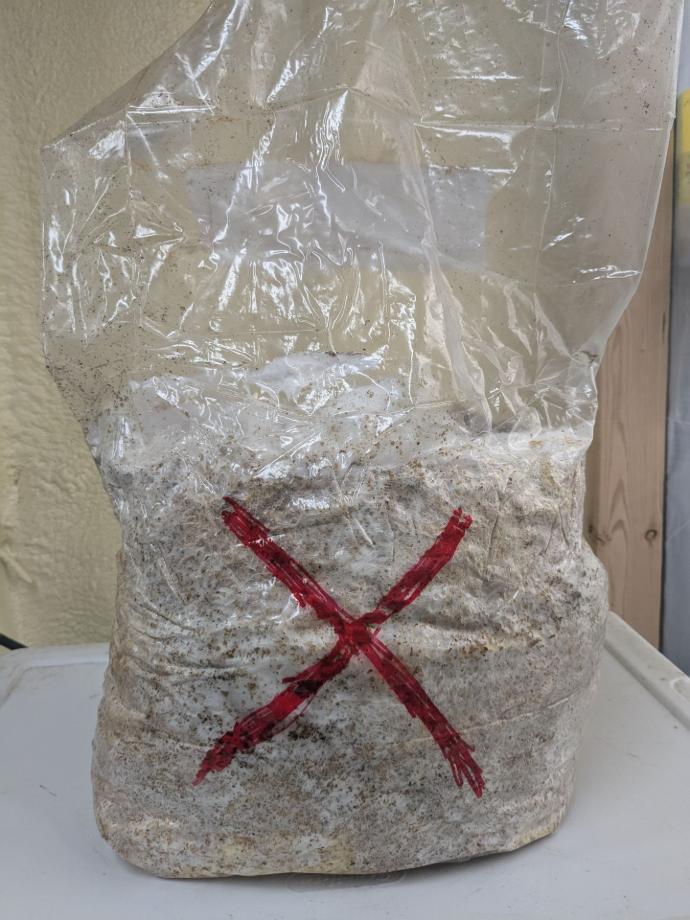
Fig. 1
We have two groups of oyster mushroom kit, warm and cool temperature.
Warm weather species are Pink oyster and Golden oyster.
Cool weather species are Michigan oyster, Black King oyster, Blue king oyster, and Snow oyster.
Cool species are happiest between 55 and 68 degrees but can handle temperatures down to 50 or daytime temperatures of up 70 .
Warm weather species thrive between 68 and 78 but can handle highs and lows about 5 degrees outside of their preferred range.
Find a place in your home or garage to place your kit. We suggest having it somewhere that gets some airflow. Spots near doors or open windows are great. As are large open rooms, basements, or garages. Mushrooms take in oxygen and exude CO2 just like us. Keeping your kit in a closed closet or a bedroom is less than ideal as they will be more likely to suffocate on their own exhaled CO2 (and yours as well). This is more of a concern in the winter time as our homes tend to have elevated CO2 levels.
Once you've chosen a home for your kit, we recommend putting you kit inside the tote after you have inverted the tote itself. Then place a book or other object under one side to create a 1-3 inch gap on one side. This will allow natural air currents that move along the floor to carry away CO2 with settles near the floor as it is heavier than oxygen. This will help your kit breath in between your fanning it daily. (Fig. 3)
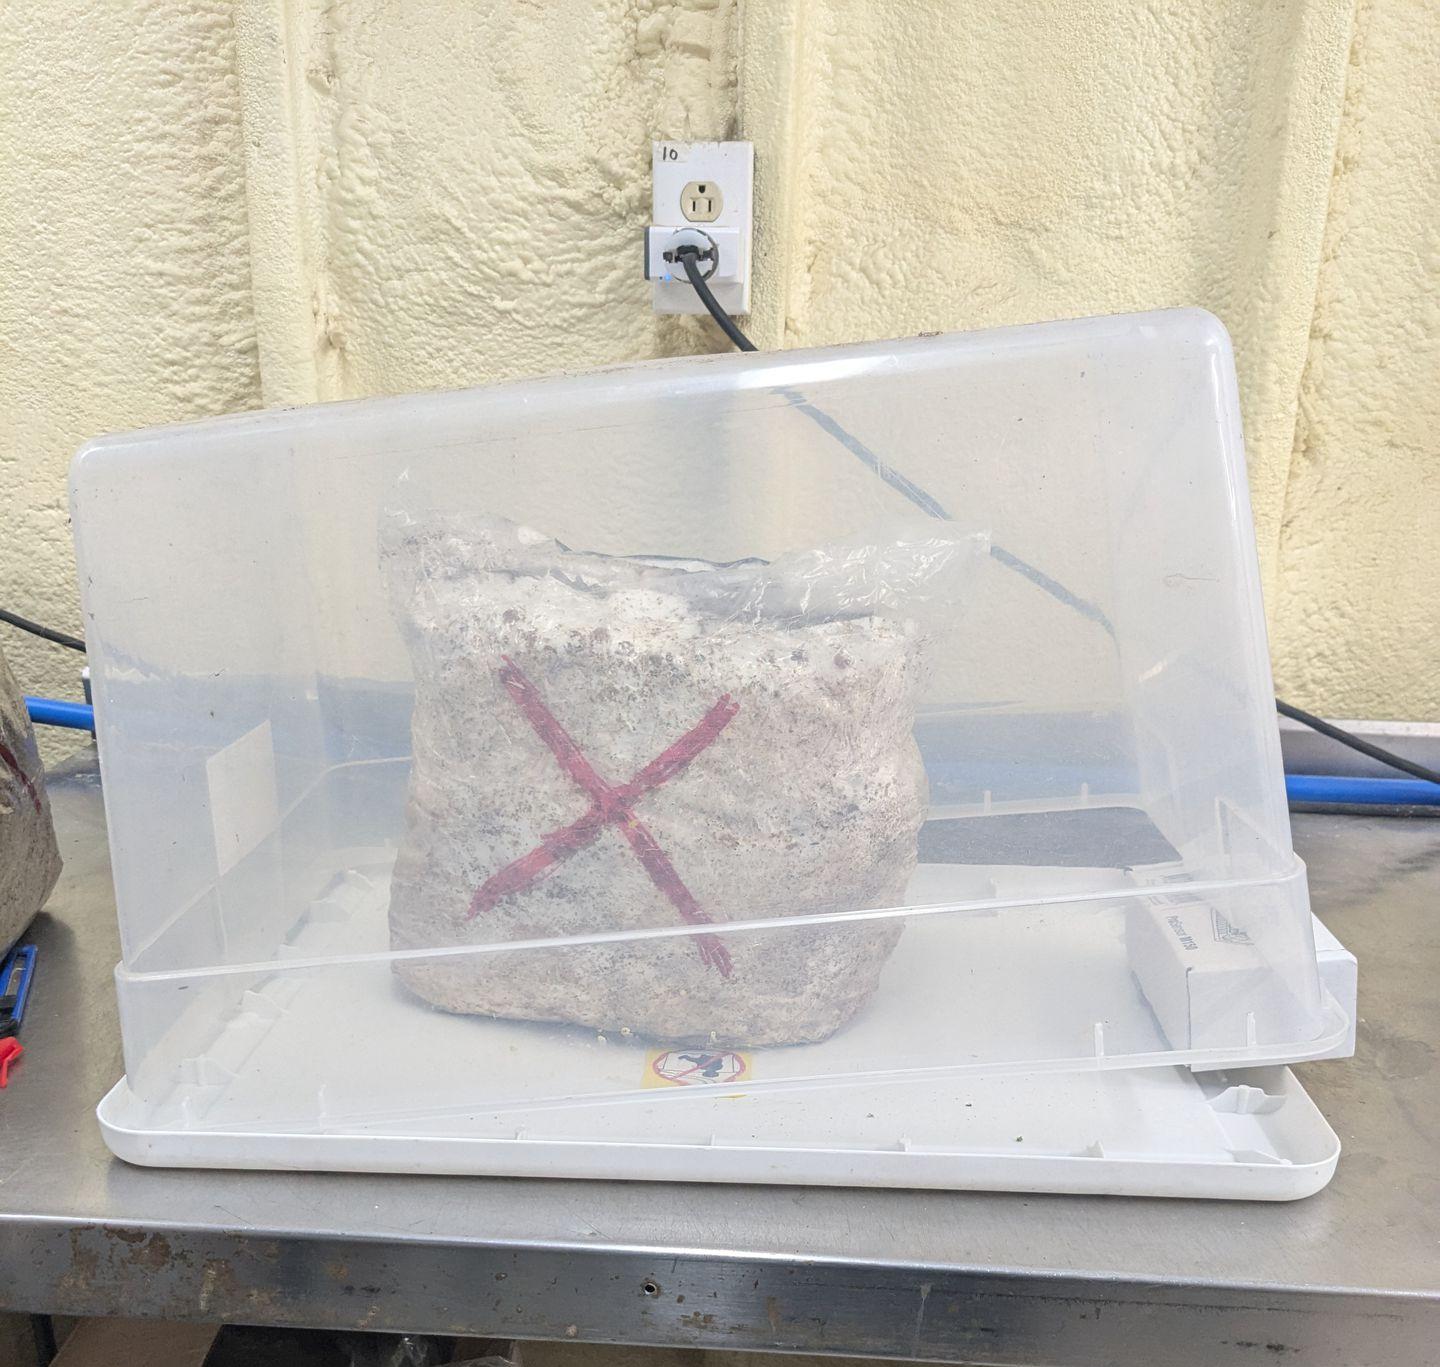
Fig. 3
Mushrooms need high humidity, especially when young . This can be achieved for many people by spraying or misting their kit with a spray bottle 2-3 times a day. However, this can be inconvenient, and not always adequate depending on the season, ambient humidity, and the conditions in your own home. So we generally recommend purchasing a small humidifier for less than $20 which can greatly improve your success and simplify the process.
Step 3: Watch 'em Grow
Check on your kit daily, ideally 2 or more times. You should open the tote and air it out whenever you check on it. If it's humid and temperate outside, or in your home, feel free to leave it out for a few hours, but only where it will not receive direct sunlight or much wind. Insects are very attracted to oyster mushrooms, so outside time is best limited to the cooler times of year, or contained in a screen porch or similar. They love an open window on a rainy day!
After 3-7 days small lumps will start to form where you have cut openings. Continue with regular fanning as they need more oxygen once the actual mushrooms begin to from. If your tote seems very moist, with a lot of water accumulating, dial back you humidity. Your mushrooms should feel moist, but not soaking wet. If they look shiny with water, turn it down a bit.
Cool weather varieties will take 5-10 days to mature. Warm weather types can be as quick as 3 or 4 days, especially pink oysters.
pe
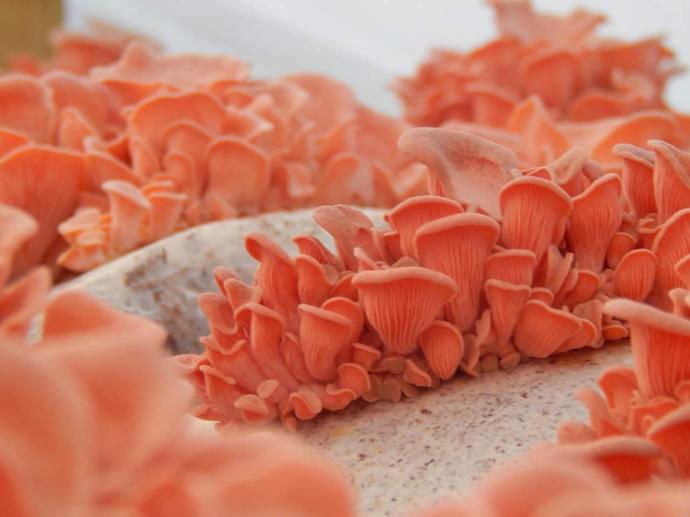
Fig. 4
See images below for each variety showing both their immature and mature stage.
Pink oyster are best used in 1-2 days and only last about 3-4 days. Golden oyster are best in 1-3 days, but can last 7.
Cool weather varieties are best used in a week but can last 2+ weeks.
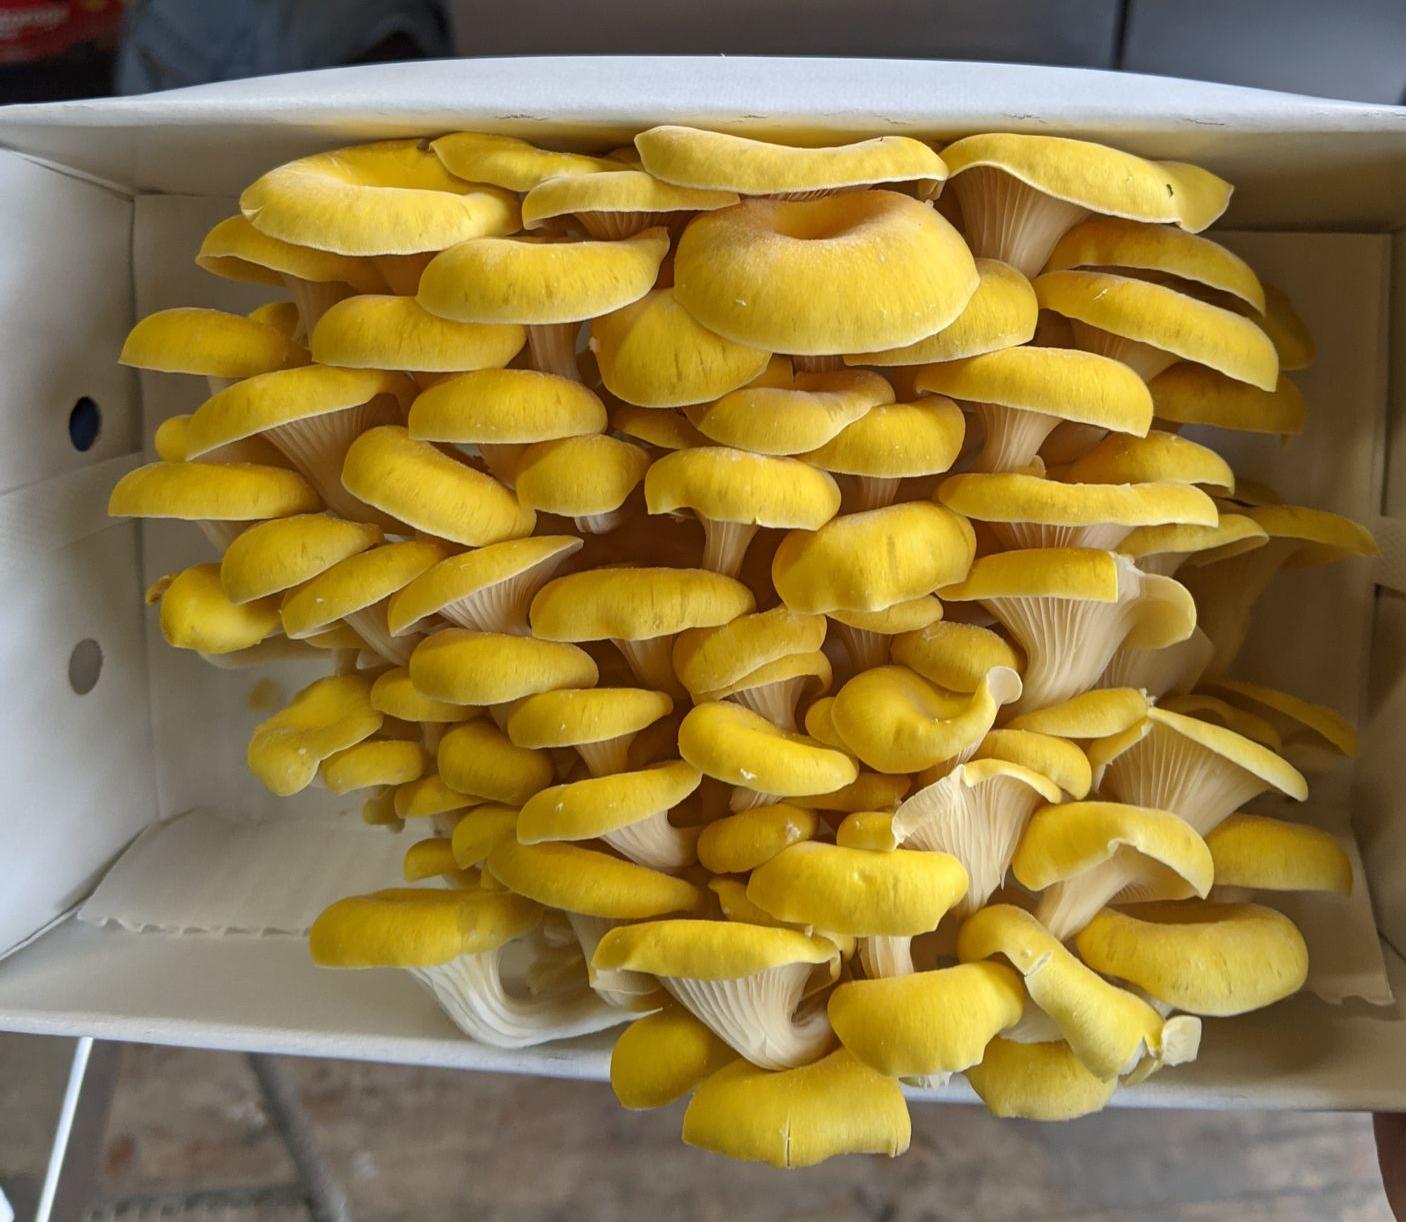
These Golden Oyster were picked a day or so earlier than usual and the margins of all the caps are deeply curled, almost to the point of being hemispherical. Harvest at, or shortly after this stage.
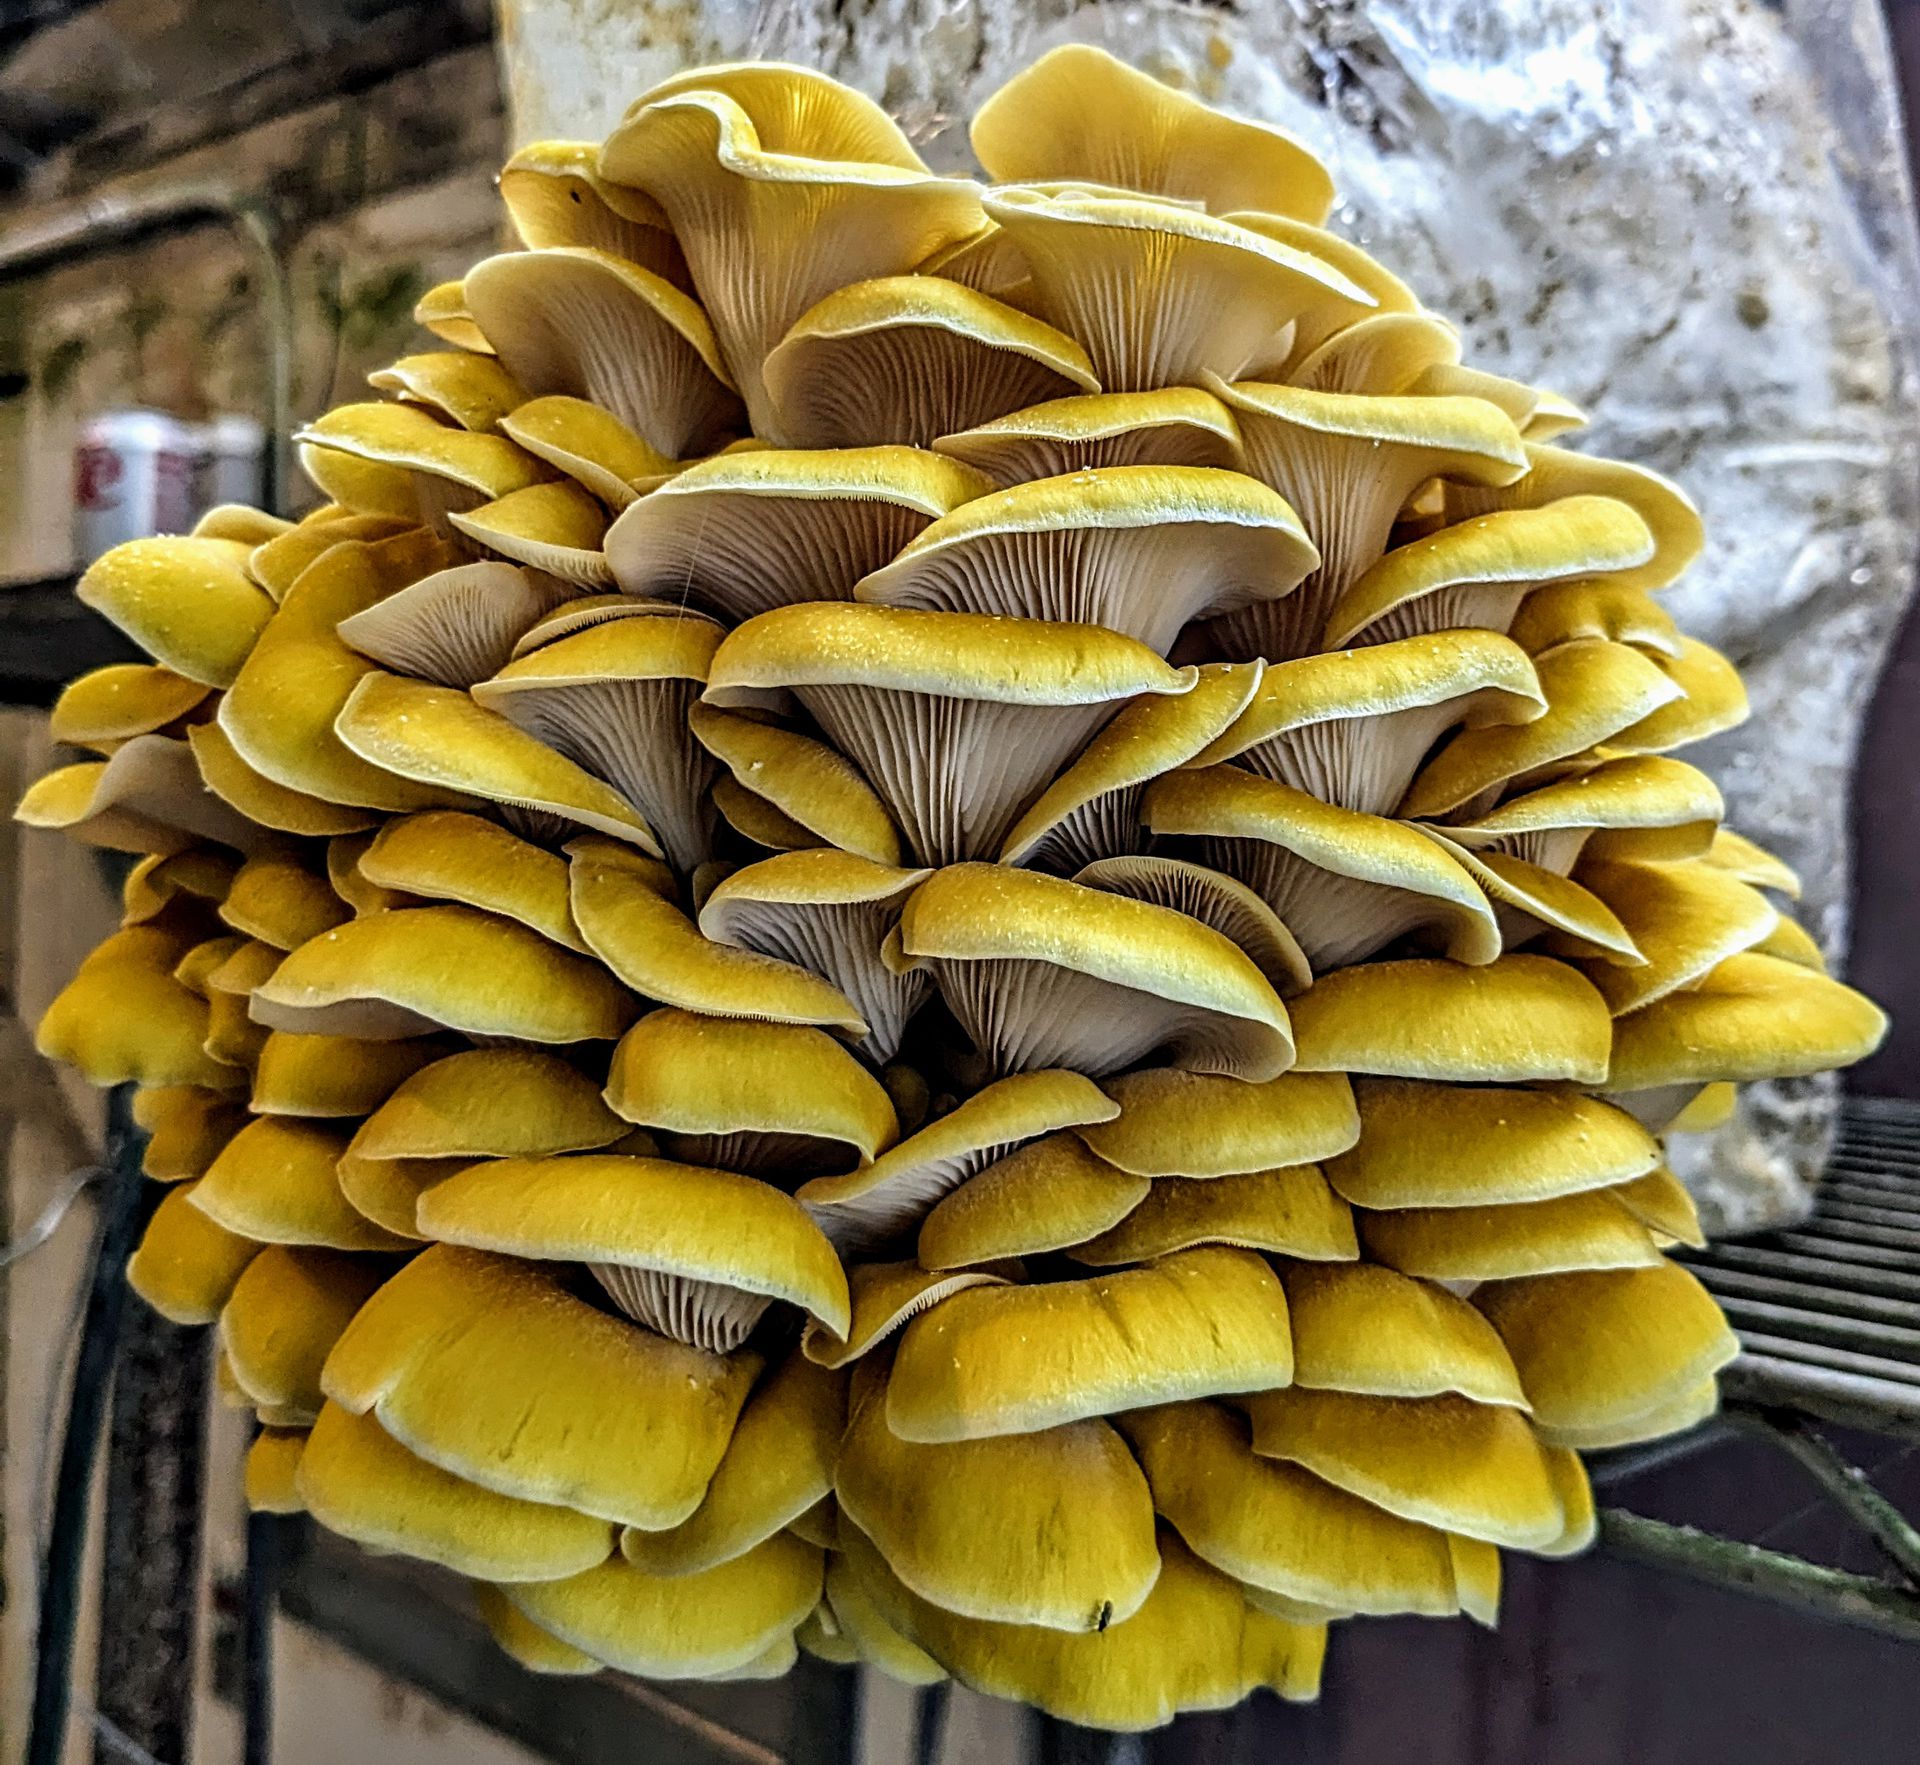
These are perfect for harvesting, but there's no harm in harvesting a bit early, better than a bit late. If the margins of the caps become any flatter than these, the mushrooms will have diminished flavor, texture, and shelf-life.
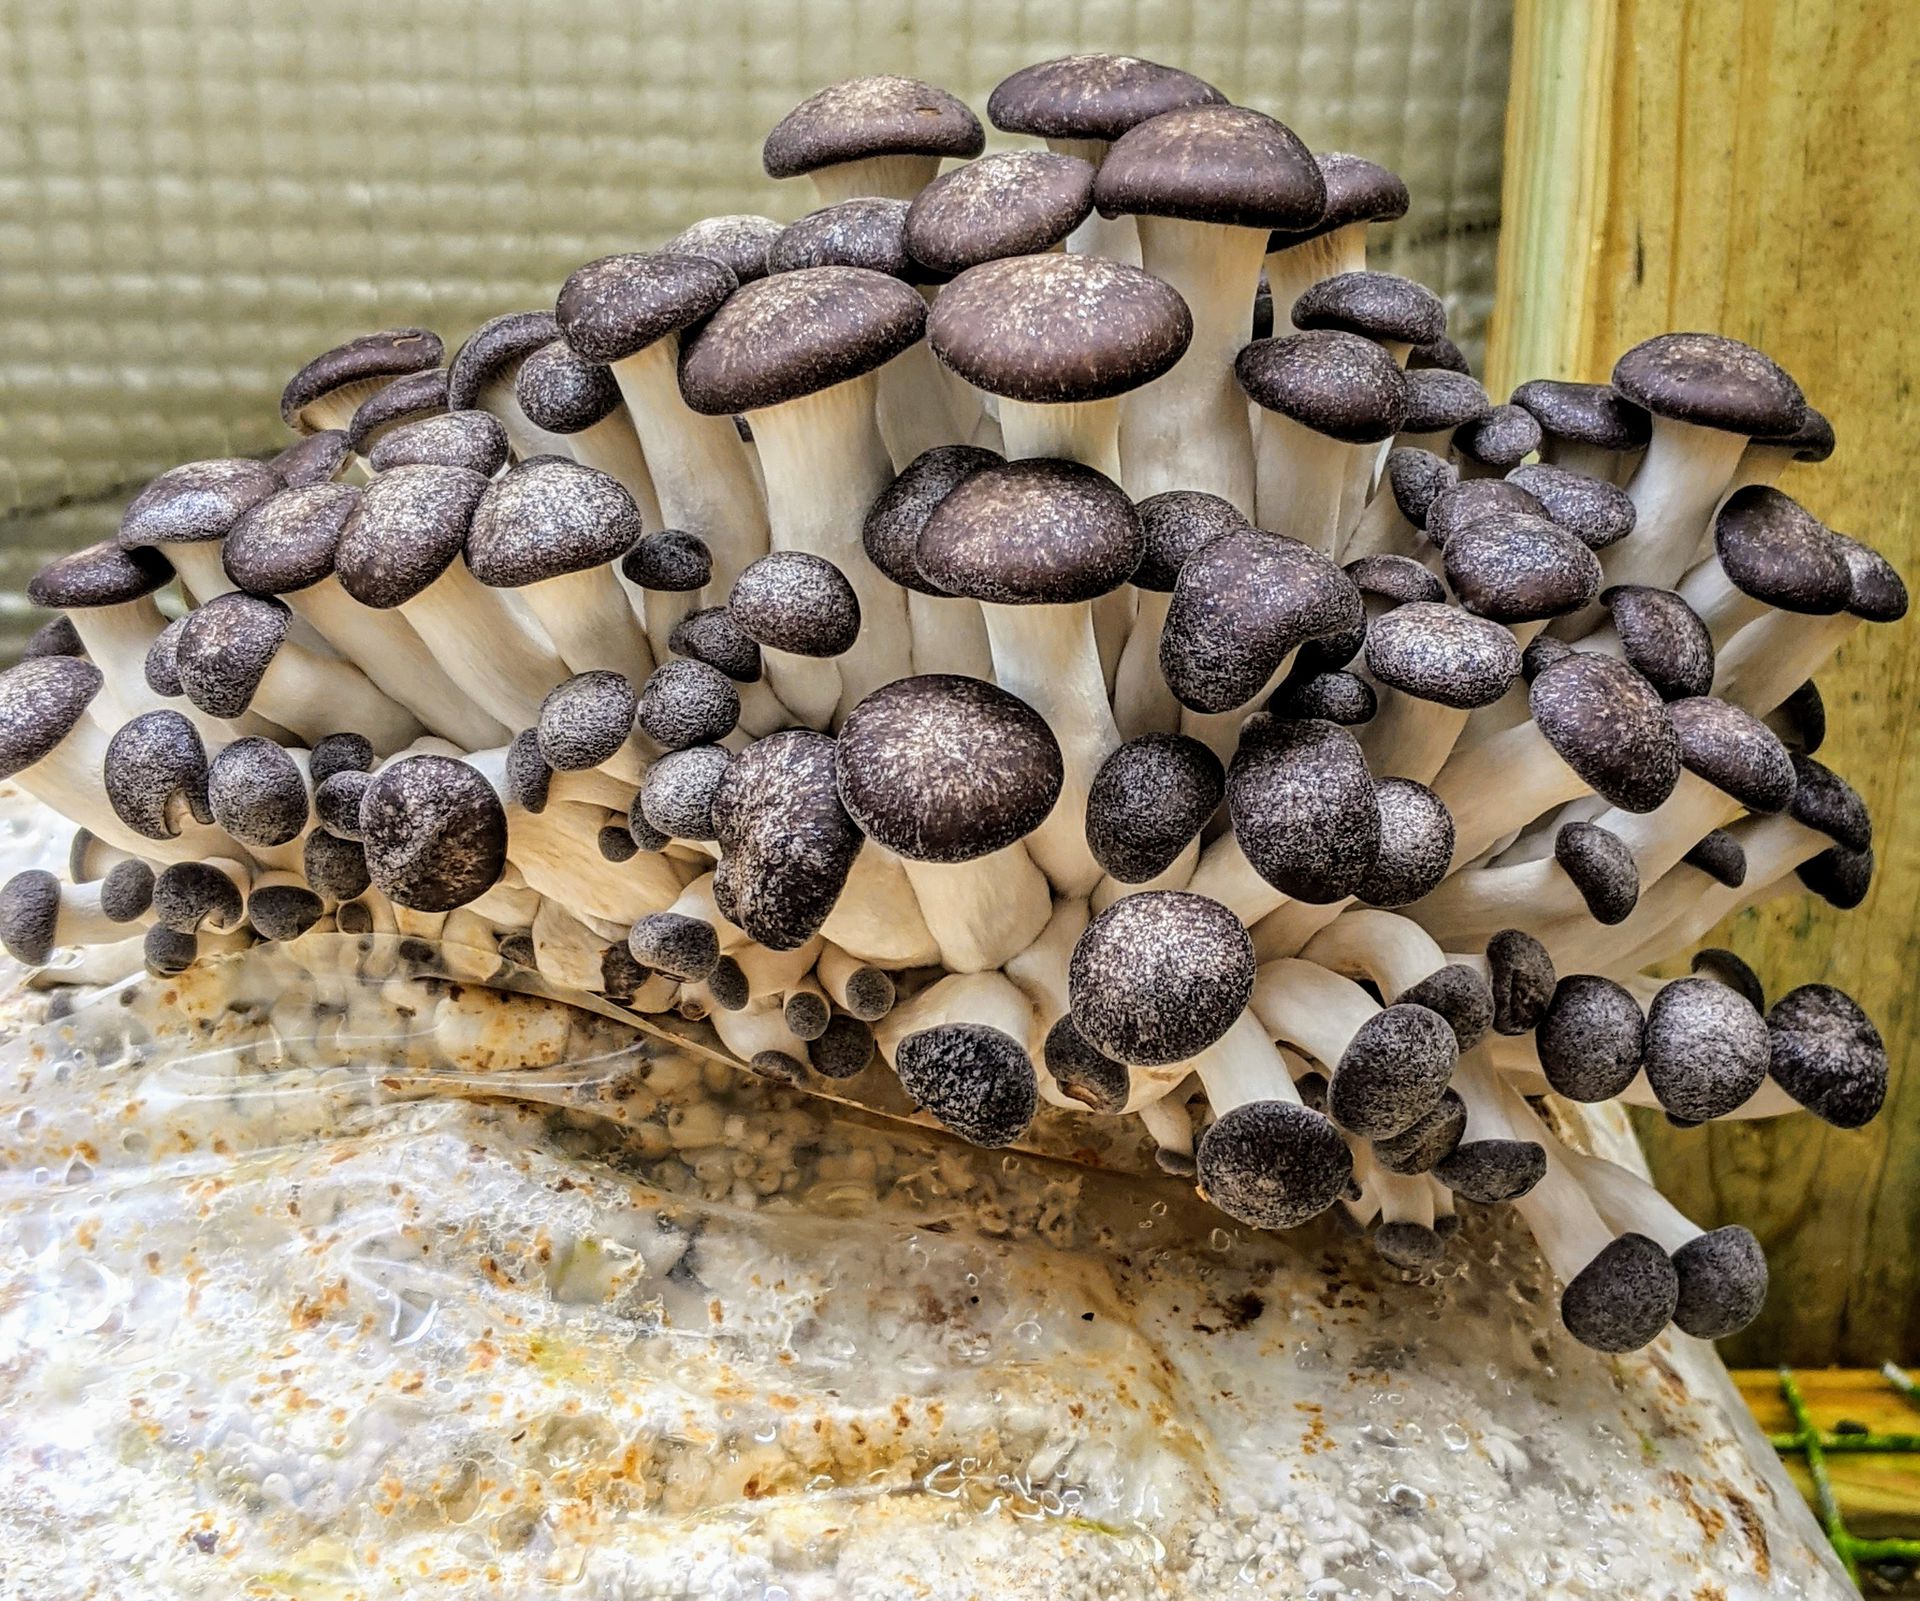
Immature Black and Blue King oysters are very rounded on top.
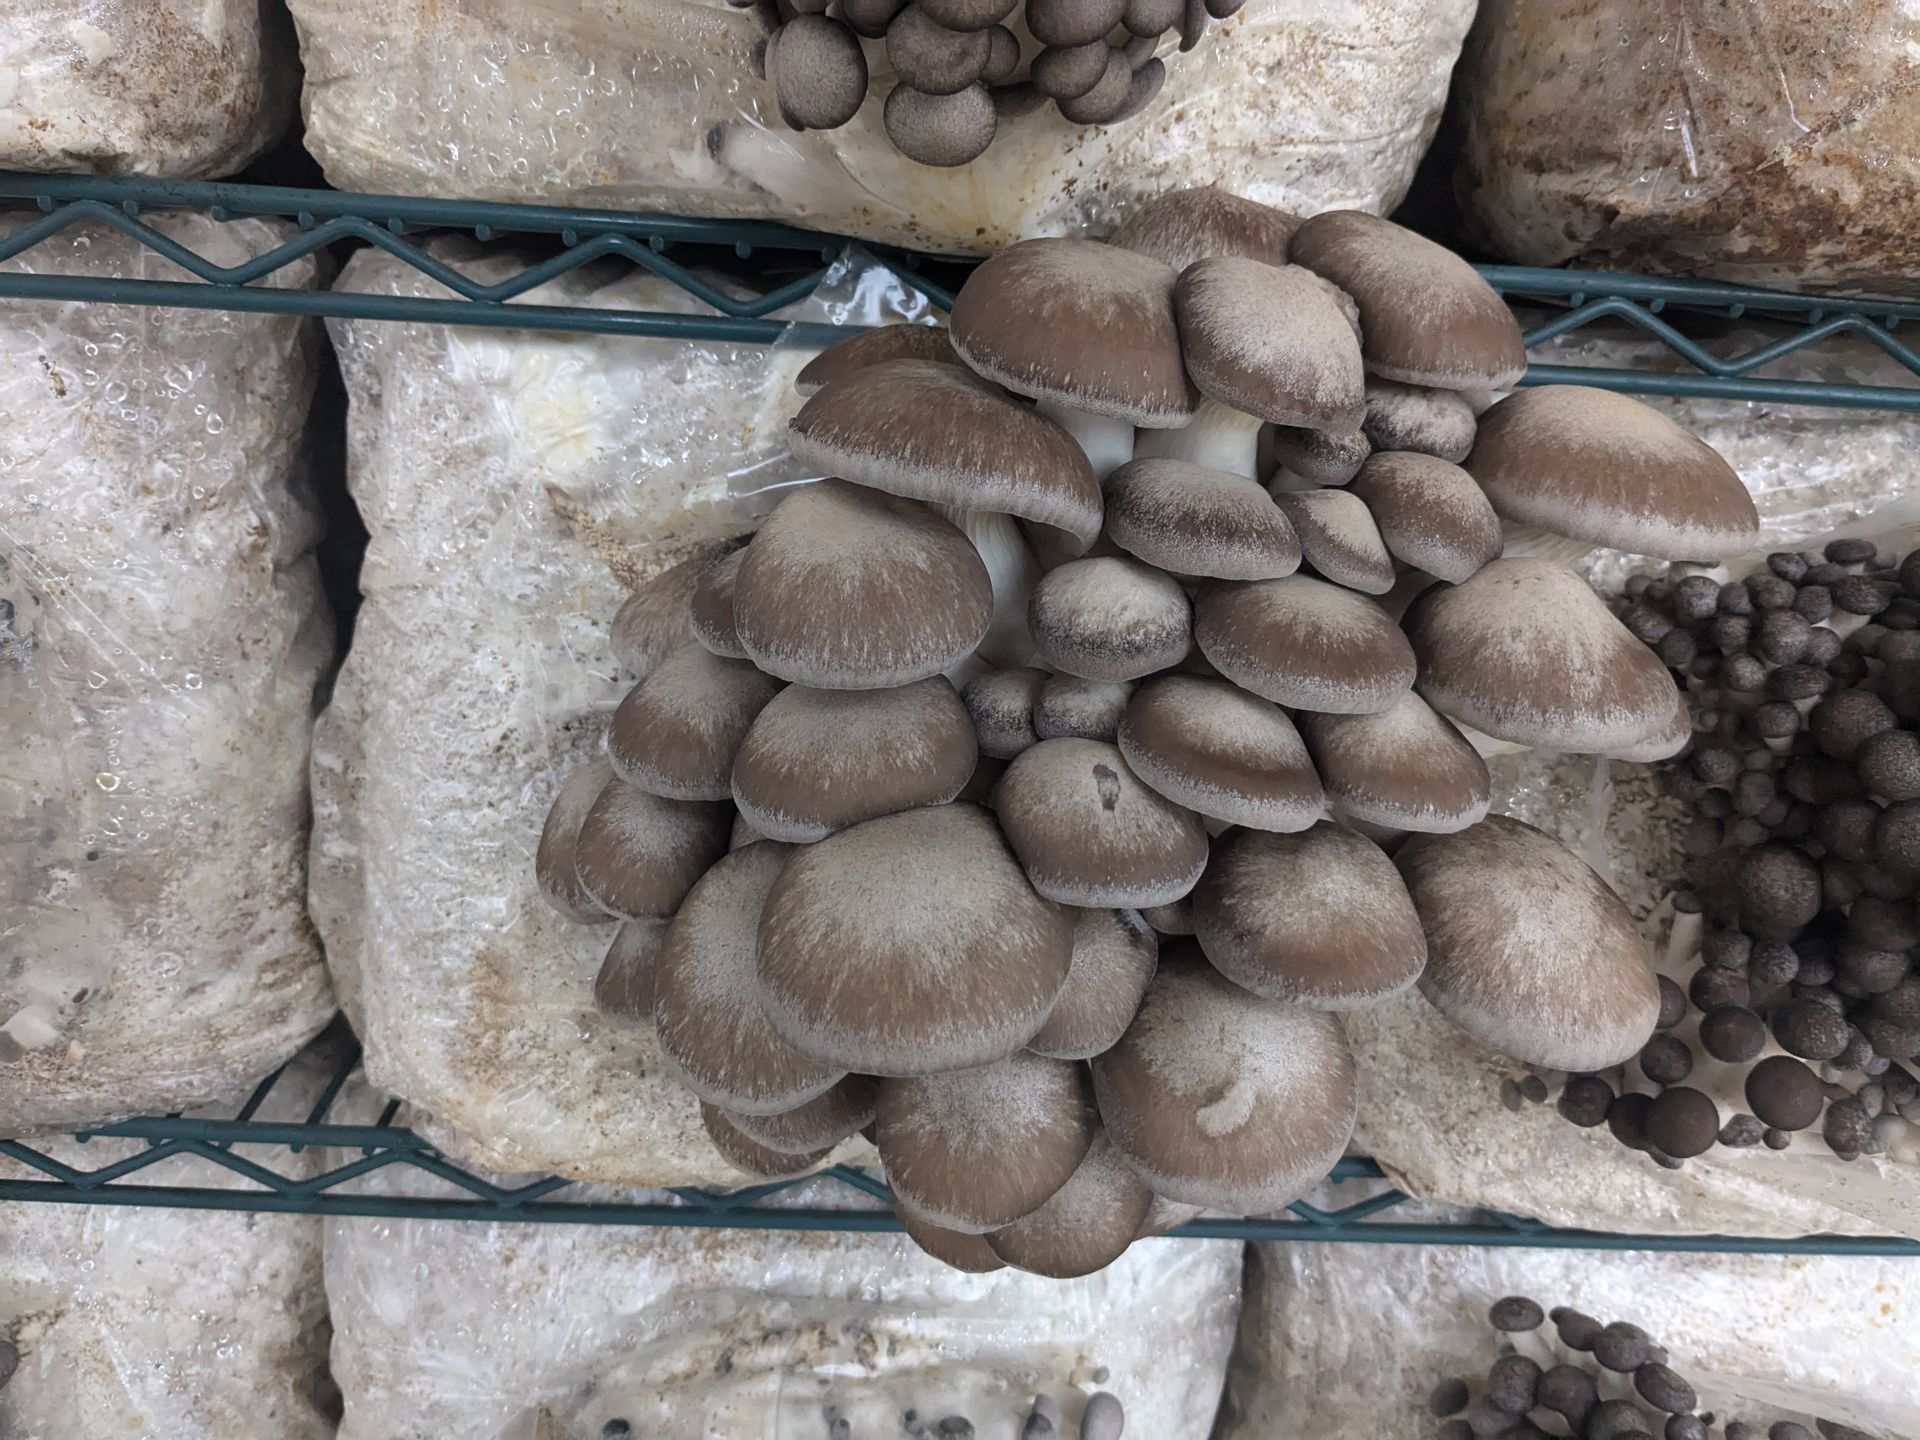
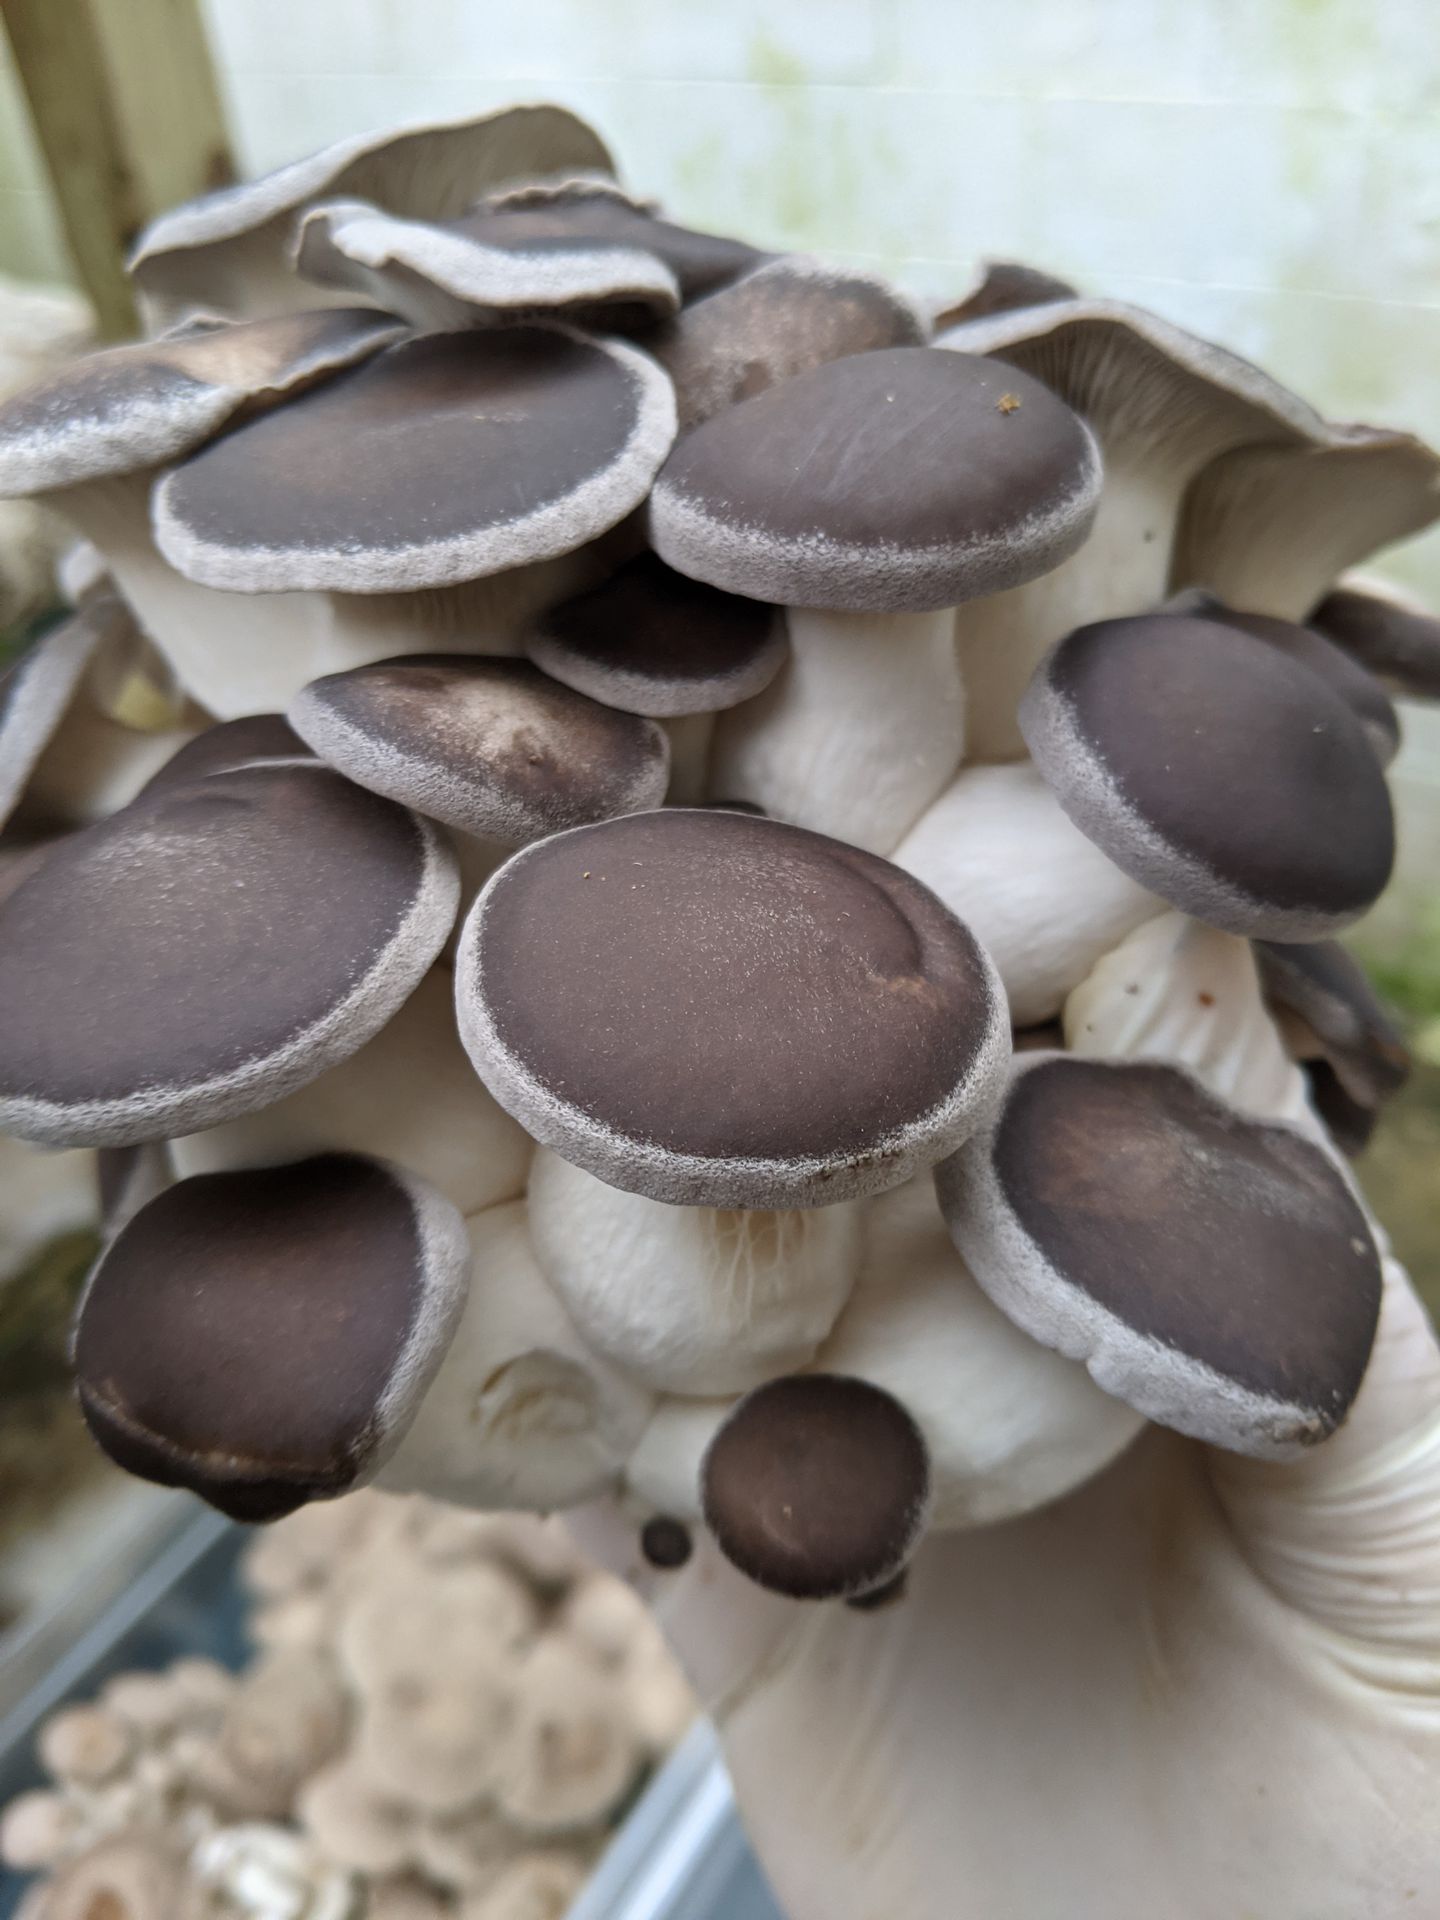
Black King and Blue King oyster become hemispherical with very rounded tops while maturing.
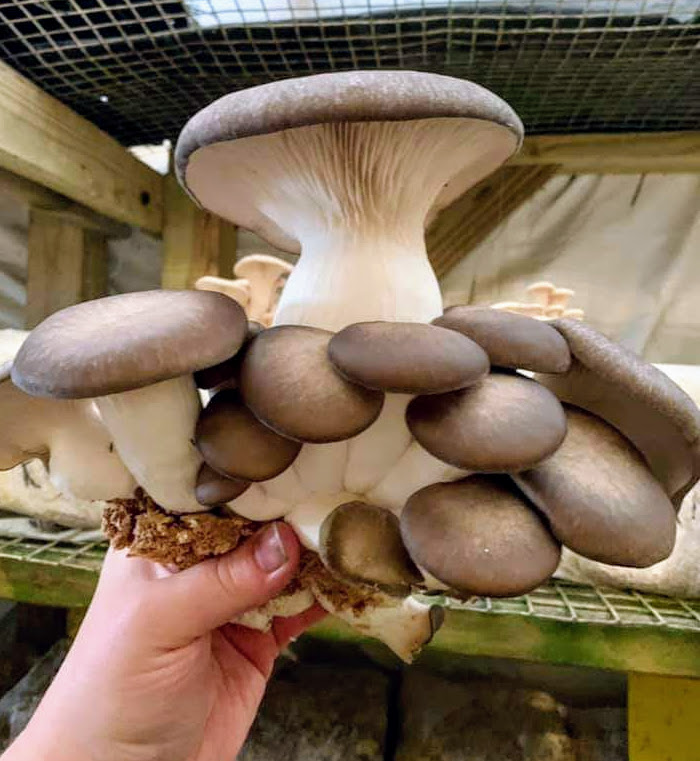
It's time to harvest when your Black or Blue King Oysters develop a flat top and smaller downward curling margin.
Another example that is ready to harvest.
Step 5: Enjoy Them!
Oyster mushrooms are our favorite, and most versatile mushrooms we grow. They are excellent sauteed until browned and served simply with rice, avocado toast, or other dishes. We also love them in eggs, soups, stir fries, curries and much more!
Certain species make excellent meat substitutes and many recipes are readily available online. Check out this excellent Oyster Mushroom Po' Boy Recipe here.
Step 6: Composting Your Kit
After your kit has stopped producing you have a few options.
1. If you'd like to get more from your kit, rinse off the outside of the bag in the sink or tub, and then submerge it in cool water for 12 hours or so, allowing water to fill the bag.
Remove it and slice a couple small slits in the bottom, allowing water to drain out. Then return it to your fruiting chamber and continue as you have been.
The kits usually run out of water but still have available nutrients.
2. Soak in water as described above and bury outside in shallow hole, in shady area. The top of the kit should be level with the ground. Place some grass or leaves over the top and check on it regularly. This method is especially nice in Spring and Fall when insects are less active.
3. Break it up and compost it or spread it in your yard, the kits are all natural and make great soil amendments or compost.
Tips & Tricks
If your mushrooms are growing inside of the bag, instead of through the openings you cut, they are likely not humid enough. You should increase humidity and slice new opening where they are growing.
Occasionally oyster mushrooms can become contaminated with bacteria, especially in warm weather if your mushrooms get too wet. If your mushrooms develop orange discoloration on the stems you should harvest and dispose of them and then wait for the next batch. Send us pictures if you're uncertain.
If your mushrooms aren't noticeably growing every 24 hours, something has gone awry. This is usually because of inadequate humidity or a contamination. Harvest and wait for the next crop.
If your oyster mushroom have long stems and don't seem to be developing caps, they are not getting enough fresh air. It's usually best to just harvest these when you notice the issue, they are perfectly edible, but harvesting early will give you a better chance to grow more, better mushrooms in subsequent flushes.
After harvest, and especially when more mushrooms begin growing, increase your fanning or move your kit to an area with more air flow.